The Making of the Queen Elizabeth Oak Drawing
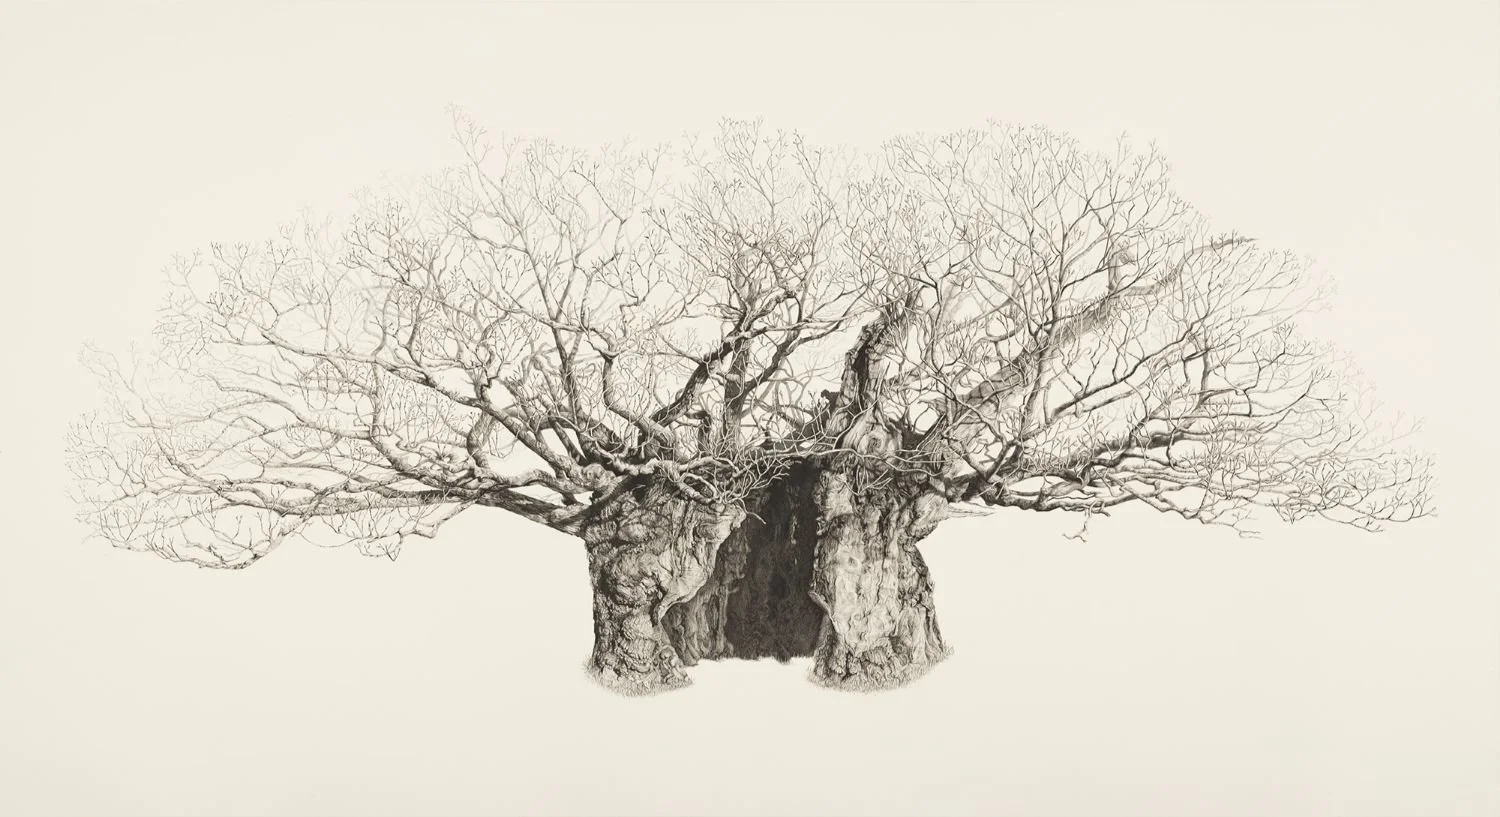
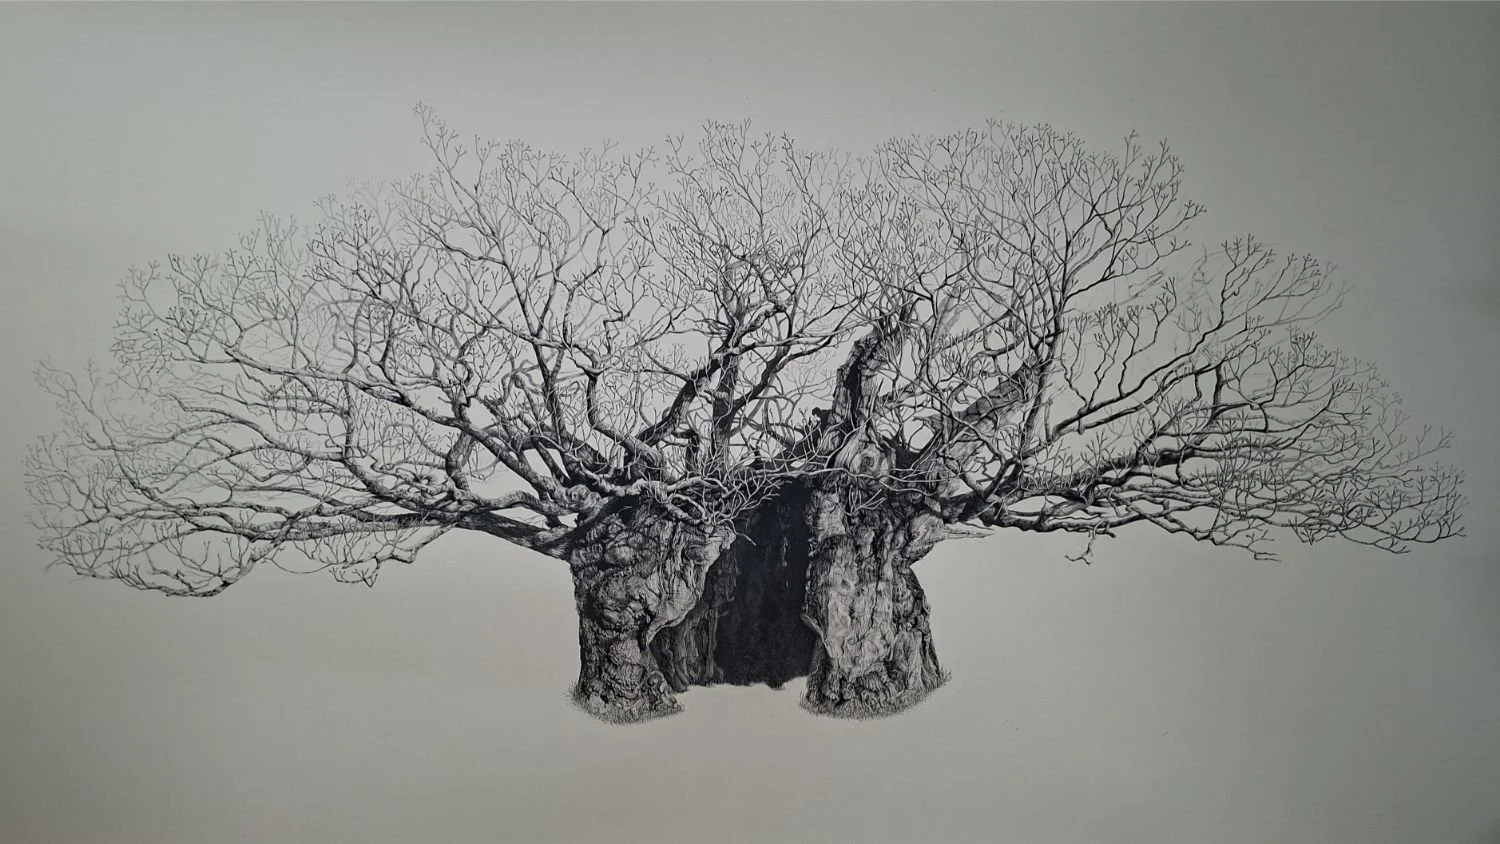
The Queen Elizabeth Oak - Conte Pierre Noire on hot press paper - 200cm x 100cm
Meeting the Queen Elizabeth Oak
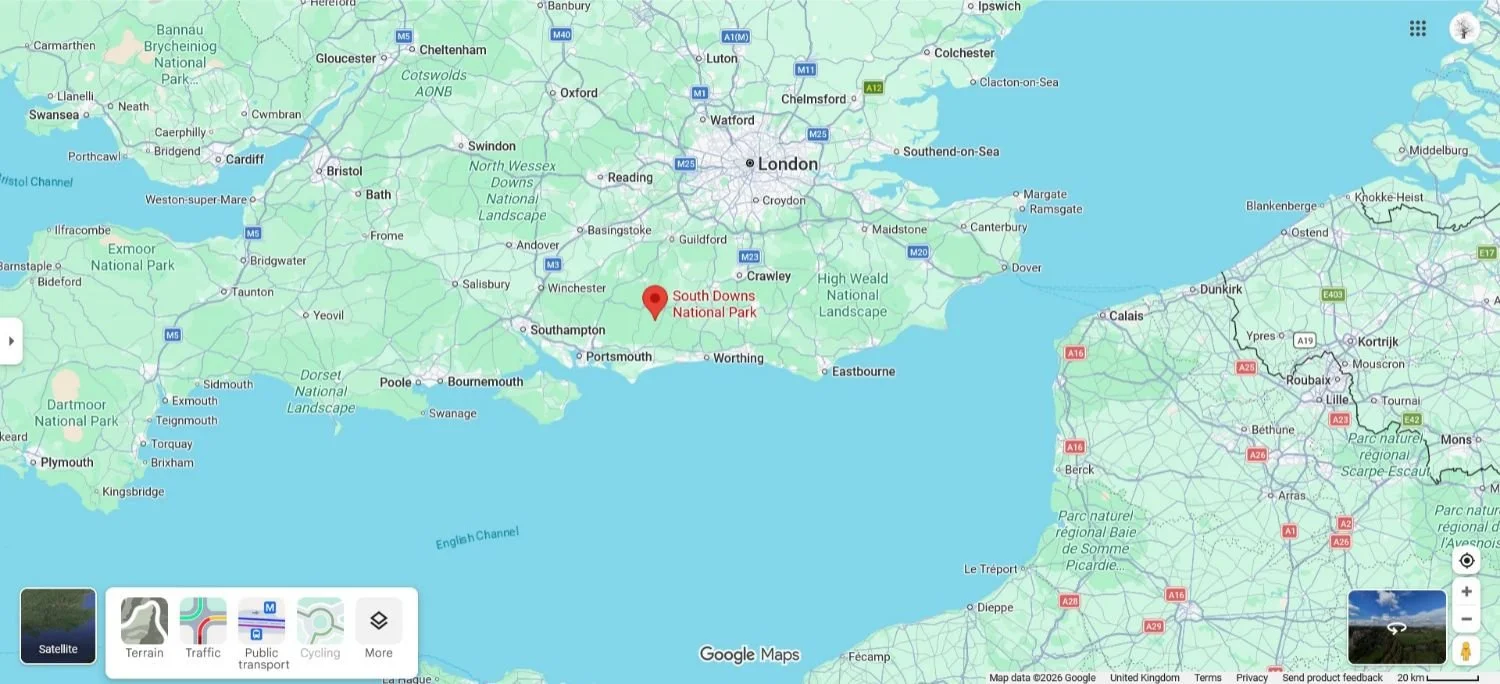
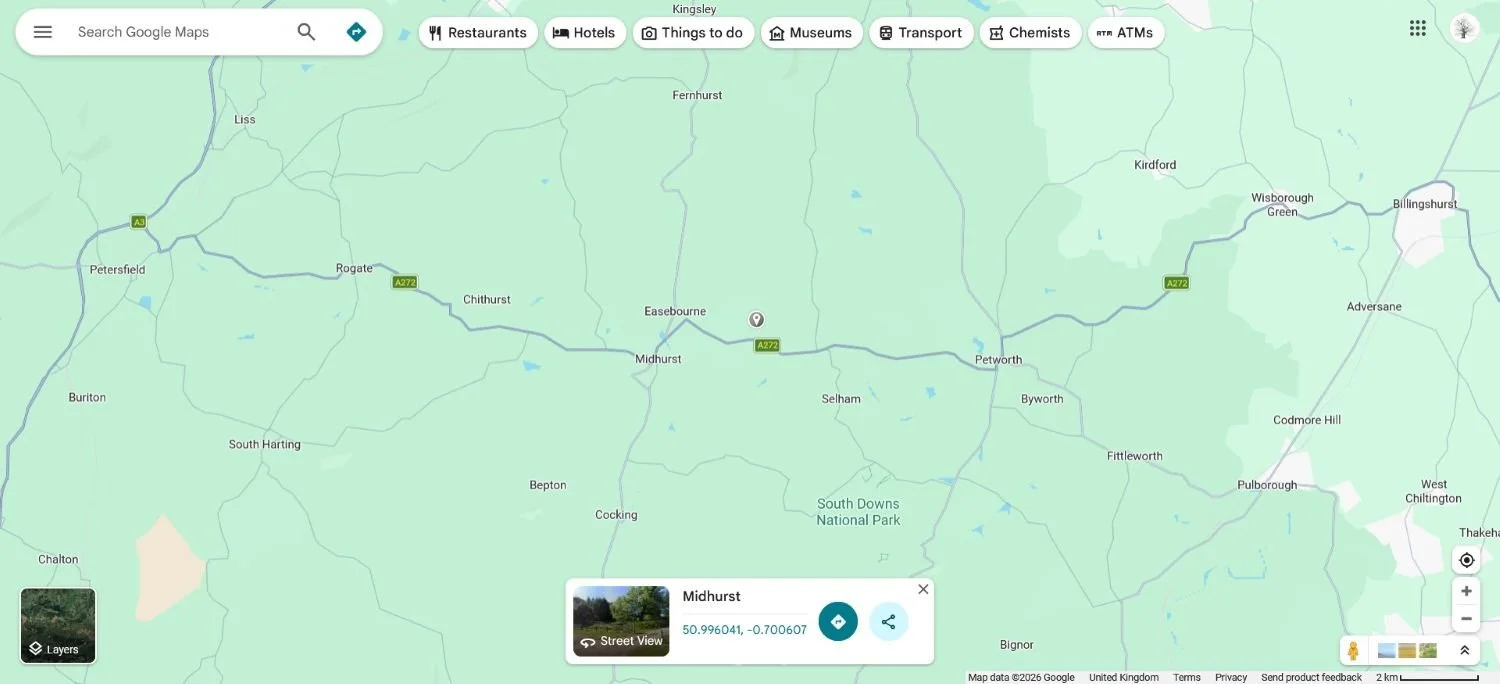
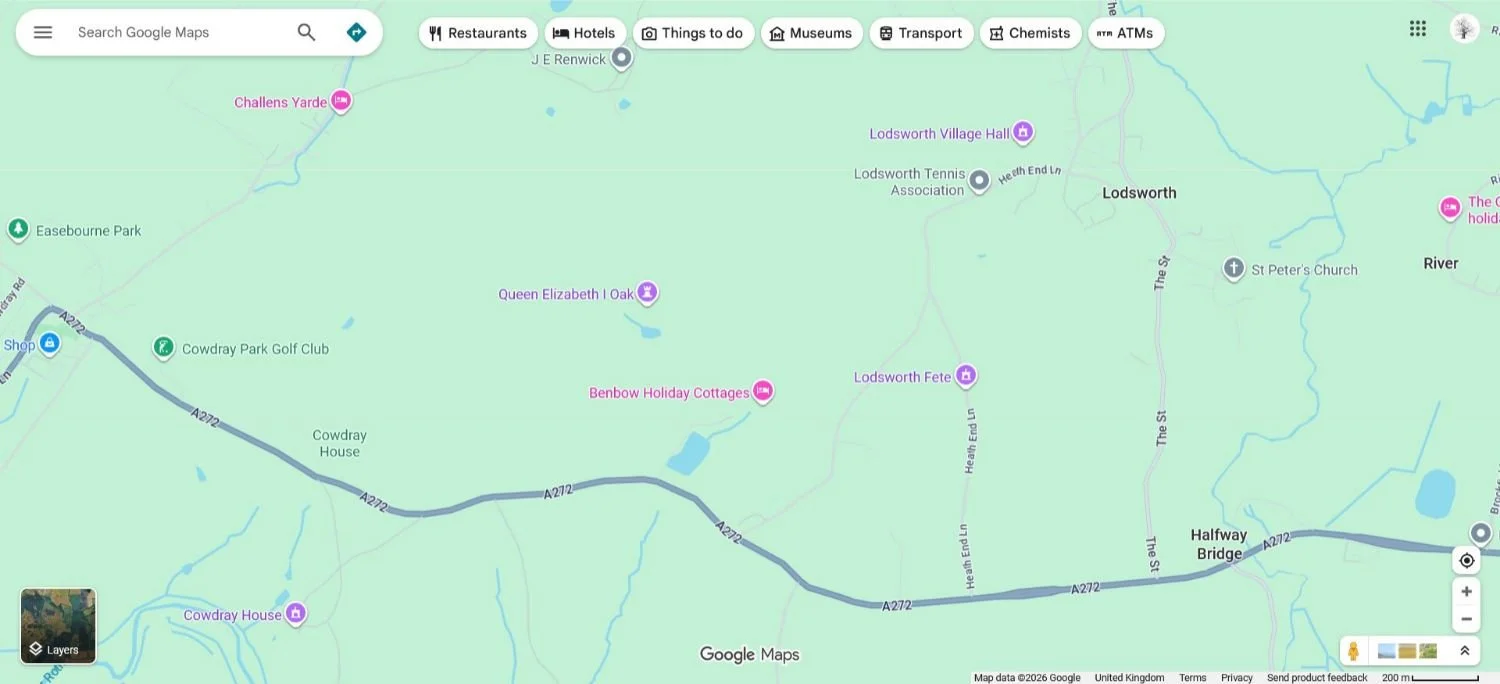
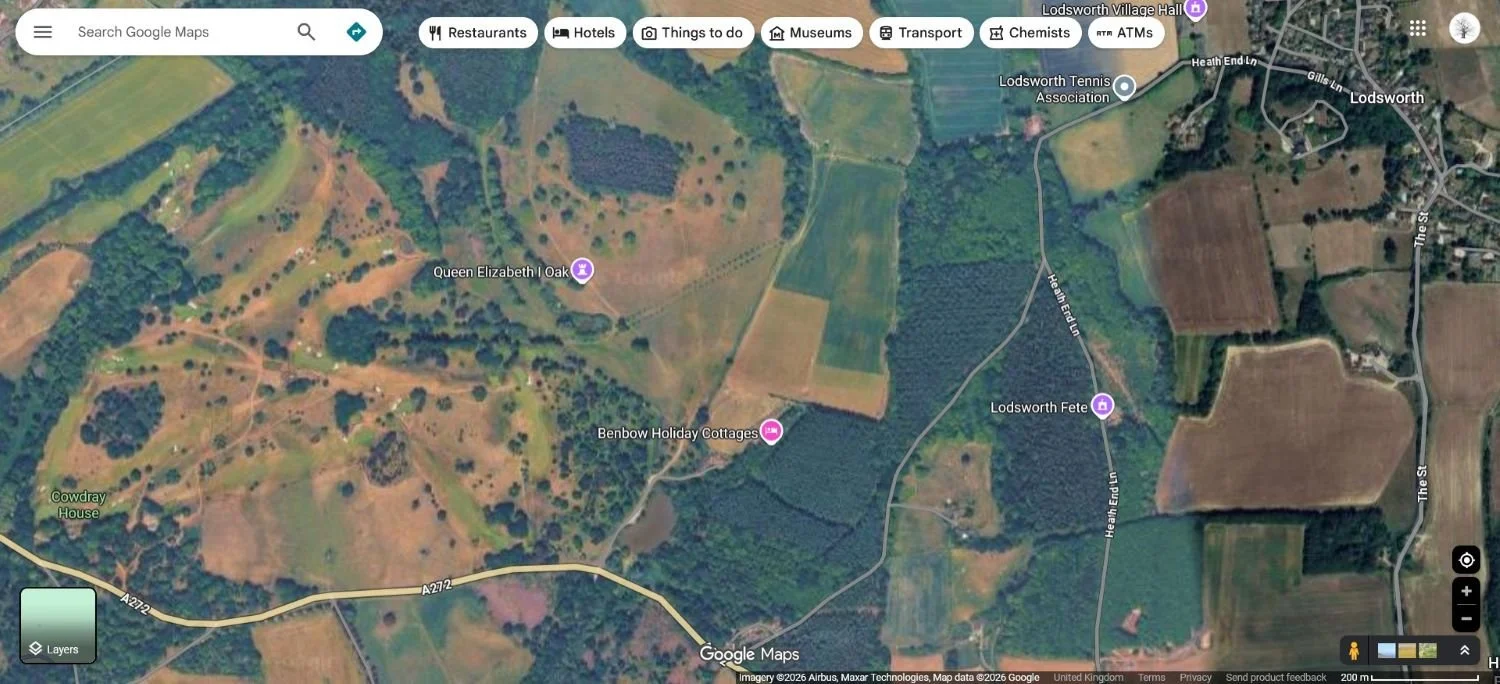
The Queen Elizabeth Oak is an ancient sessile oak (Quercus petraea) that stands in open parkland on the Cowdray Estate in West Sussex. Thought to be between 800 and 1,000 years old, it is one of the largest and most significant ancient oaks in Britain.
I was first introduced to the tree in the early 2000s while working for Woodcraft School, where I taught bushcraft and outdoor living skills. As part of some of our longer courses, we would take students on visits to some of the remarkable ancient trees in the local area, and the Queen Elizabeth Oak was always at the top of the list.
I still remember the first time I saw it. Standing beneath its immense limbs, I was struck by both its scale and its presence. There was something about the character of the tree that stayed with me long after I left, and I knew one day I wanted to draw it. More than that, I wanted to spend the time getting to know it properly.
When I first visited, it was still possible to walk right up to the tree. Today it is protected by fencing, and understandably so. Trees of this age are incredibly vulnerable to soil compaction around their roots, and limiting access helps to preserve them for future generations. I'm grateful that I was able to experience it before those restrictions were introduced. There is something quite extraordinary about placing your hand on a living organism that has stood in the landscape for nearly a thousand years.
The tree takes its name from Queen Elizabeth I, who visited the Cowdray Estate in 1591. According to local legend, she took aim at a stag from beneath the branches of the oak while hunting in the park. Although she missed the deer, the tree has carried her name ever since.
Its broad, low form is the result of centuries of pollarding, a traditional woodland management technique in which the upper branches of a deciduous tree are cut above the reach of grazing animals. The following spring, the tree responds by producing vigorous new growth. Pollarding provides a sustainable source of timber and firewood for generations, but it also has another benefit: by regularly reducing the weight of the crown, it can significantly extend the life of a tree.
Perhaps that is one of the reasons the Queen Elizabeth Oak remains in such remarkable condition today. Despite its great age, it still produces fresh foliage every spring, a quiet reminder that this ancient tree continues to grow and thrive.

The Queen Elizabeth Oak at the height of summer
Planning the Drawing
From the beginning I knew I wanted the Queen Elizabeth Oak to become a large drawing. The scale of the tree deserved a scale of artwork that would allow the viewer to appreciate both its immense presence and the extraordinary detail found across its surface.
One of my first decisions was whether to draw the tree in leaf or in winter. I'd never drawn a tree in full leaf before and, technically, it would have been an interesting challenge. However, after reviewing the photographs from my site visits, it became clear that the tree's unusual, low, spreading form would be lost amongst the foliage. Because I work in monochrome, the silhouette wasn't immediately recognisable as a tree, so I decided to draw it bare.
That decision brought its own challenges, but it also revealed what I think is the tree's greatest beauty. Without leaves, every twist and turn of the branches becomes visible, and the broad split in the trunk exposes the remarkable hollow centre that has developed over centuries. This is undoubtedly the tree's most dramatic aspect.
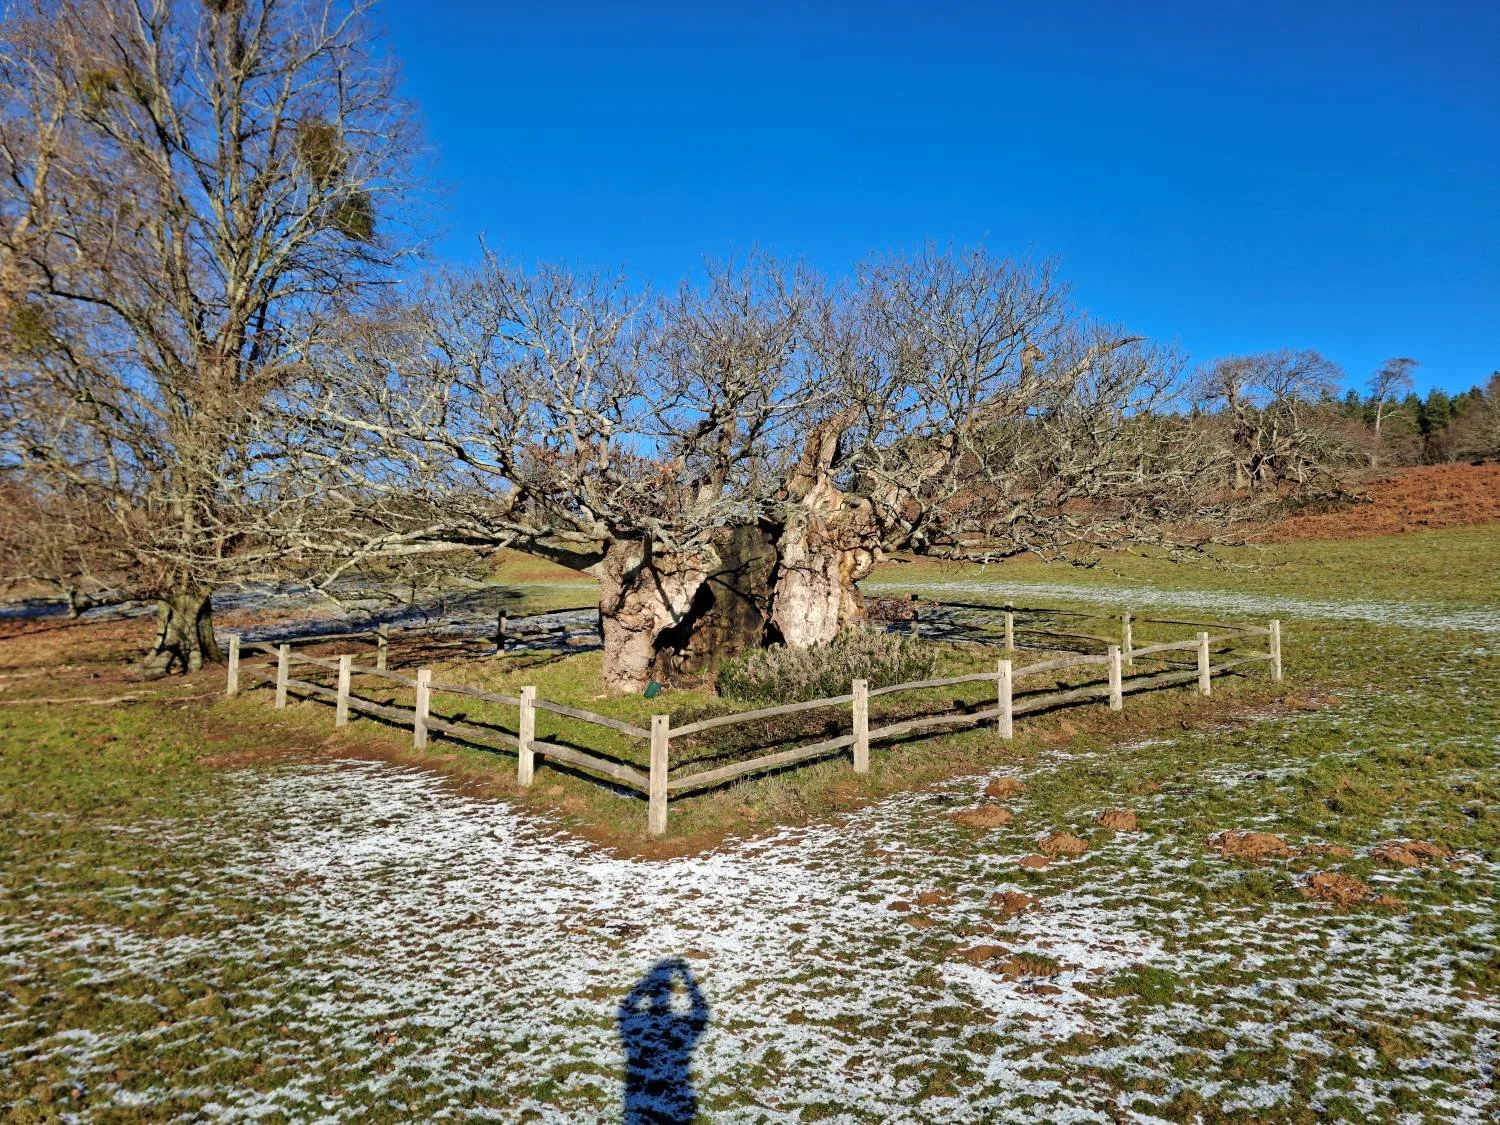
The Queen Elizabeth Oak in winter
I also wanted to capture the tree in the early morning light. At that time of day the low sun throws long shadows from the branches across the trunk, helping to describe the rugged texture of the bark and giving the drawing a stronger sense of depth.
The tree stands on a slope, and from this side the ground falls away. I wanted my reference photographs to be taken square-on rather than looking up into the canopy, so I found myself carrying a ladder across the field and photographing the tree while standing several feet above the ground.
The arrangement worked perfectly until the resident bullocks decided to investigate what I was doing. Their curiosity quickly became rather too enthusiastic, forcing me to abandon my plans to spend the morning sketching the tree on site!
In the end I had to rely entirely on photography. Fortunately, over several visits I was able to capture hundreds of images from different angles, recording the complex network of branches and the subtle changes in light. Those photographs became the foundation for the drawing.
A beautiful winters day on Cowdray Estate visiting the Queen Elizabeth Oak and the resident bullocks!
Using a ladder to get the right angle to photograph the Queen Elizabeth Oak
Preparing the Artwork
Creating a drawing of this size involves far more planning than simply choosing a sheet of paper.
I use Fabriano Artistico 300 gsm hot press paper, which I buy in rolls measuring 1.4 metres by 10 metres. Because the drawing was always going to be in landscape format, the width of the roll determined the maximum possible height of the finished artwork.
My next consideration was framing. Having worked as a picture framer for many years, I knew that the availability of conservation glazing would ultimately determine the maximum practical size of the drawing. I use museum-quality UV-protective acrylic, which is available in sheets up to 1.2 × 2.4 metres. Working backwards from those dimensions allowed me to settle on a finished drawing size of approximately 1 × 2 metres, while still leaving enough room around the image for generous margins within the frame.
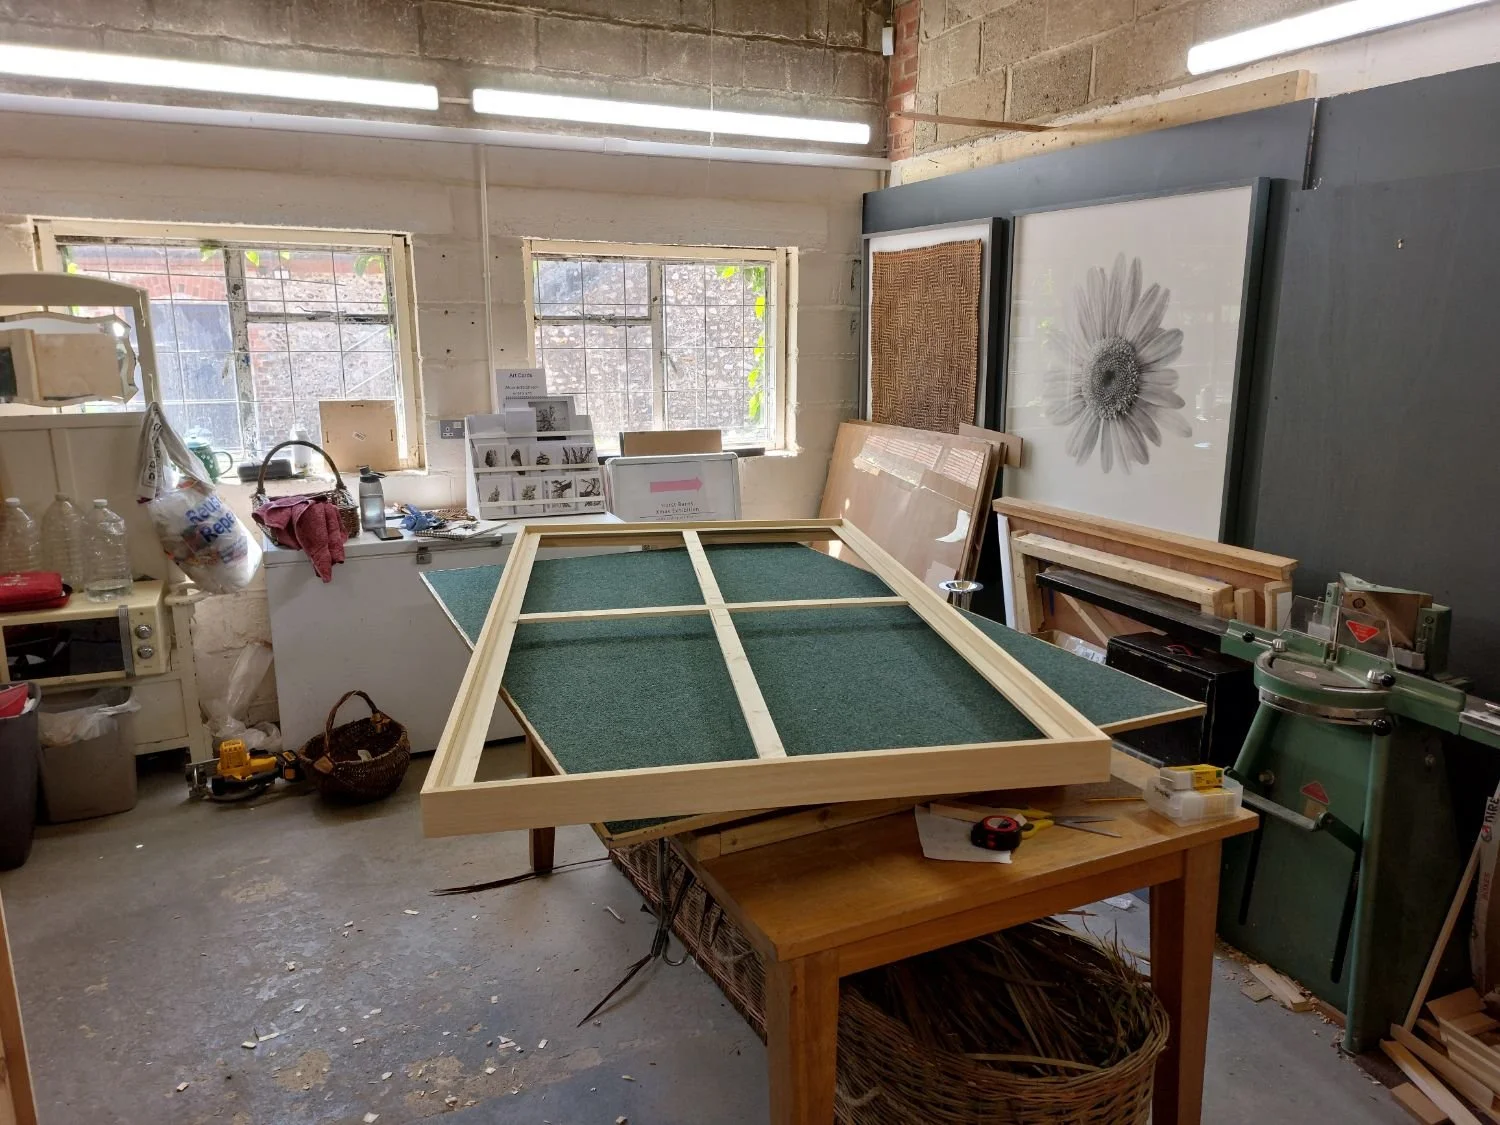
Once the final dimensions had been established, I cut the paper and stretched it onto a sheet of marine plywood. Although I work entirely with dry media, I always stretch my paper before beginning a drawing. Changes in humidity can cause even heavy paper to expand and contract slightly over time, leading to unwanted ripples. Stretching ensures the paper remains perfectly flat throughout the artworks life.

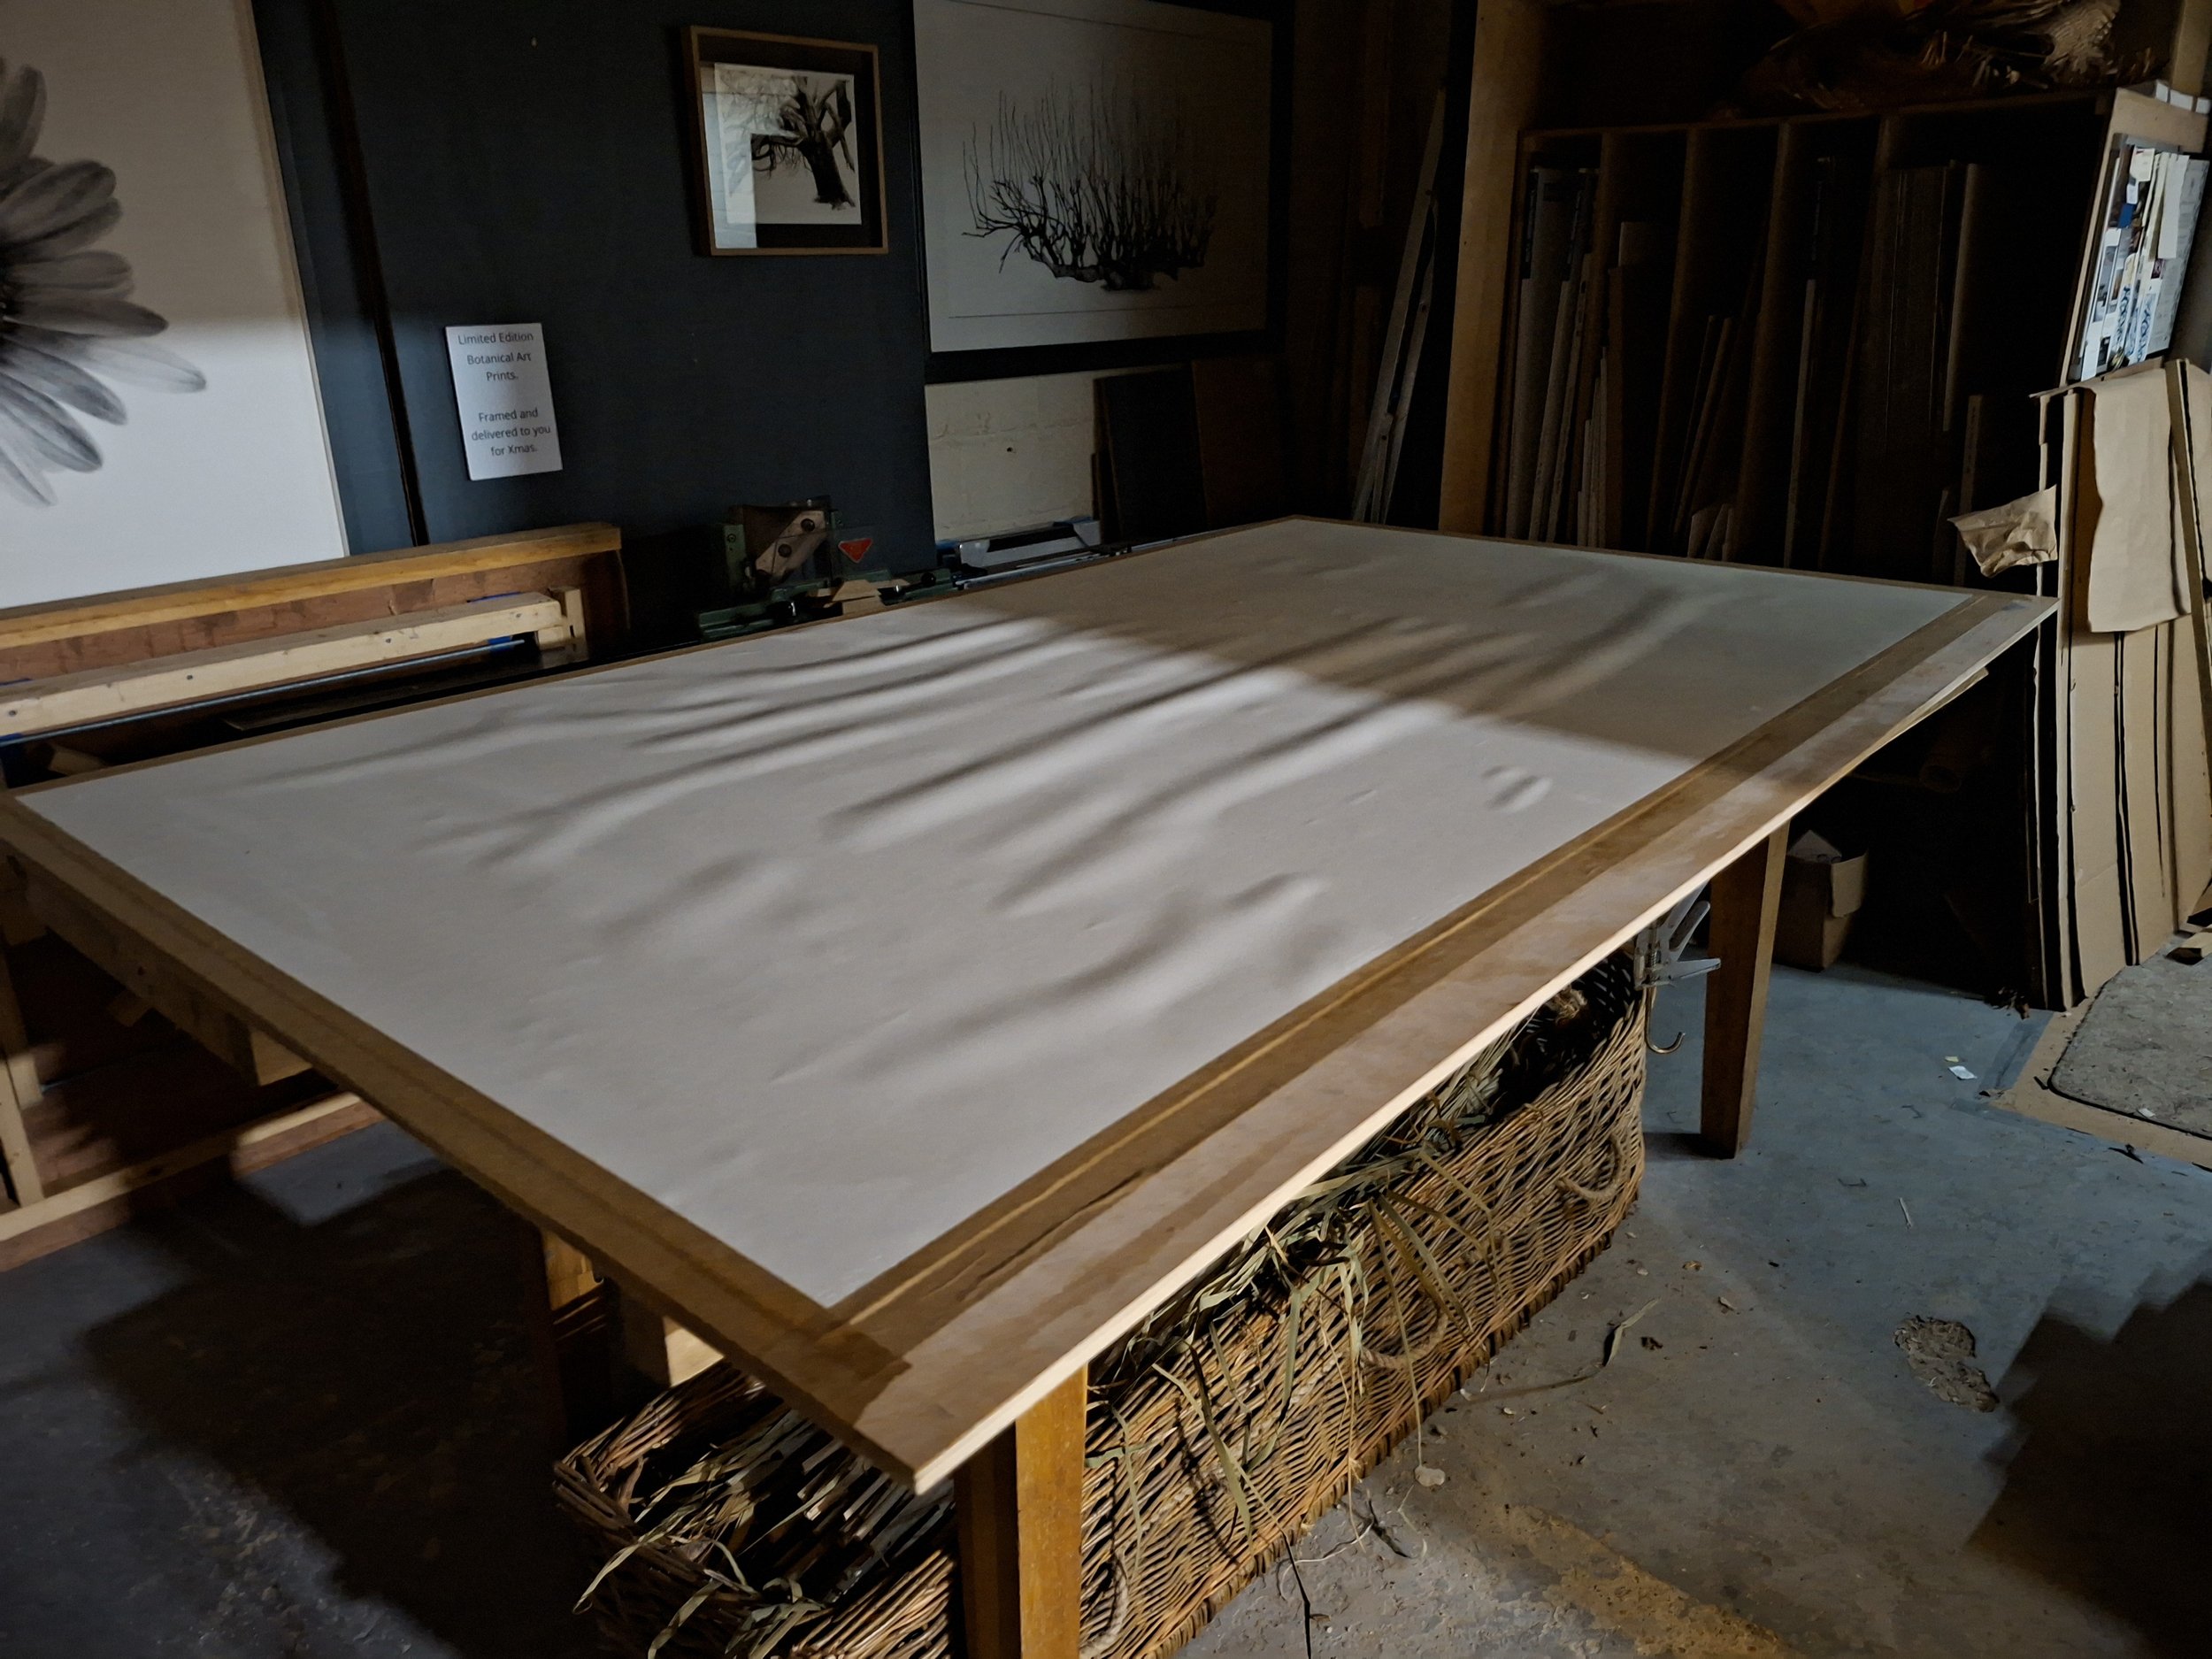
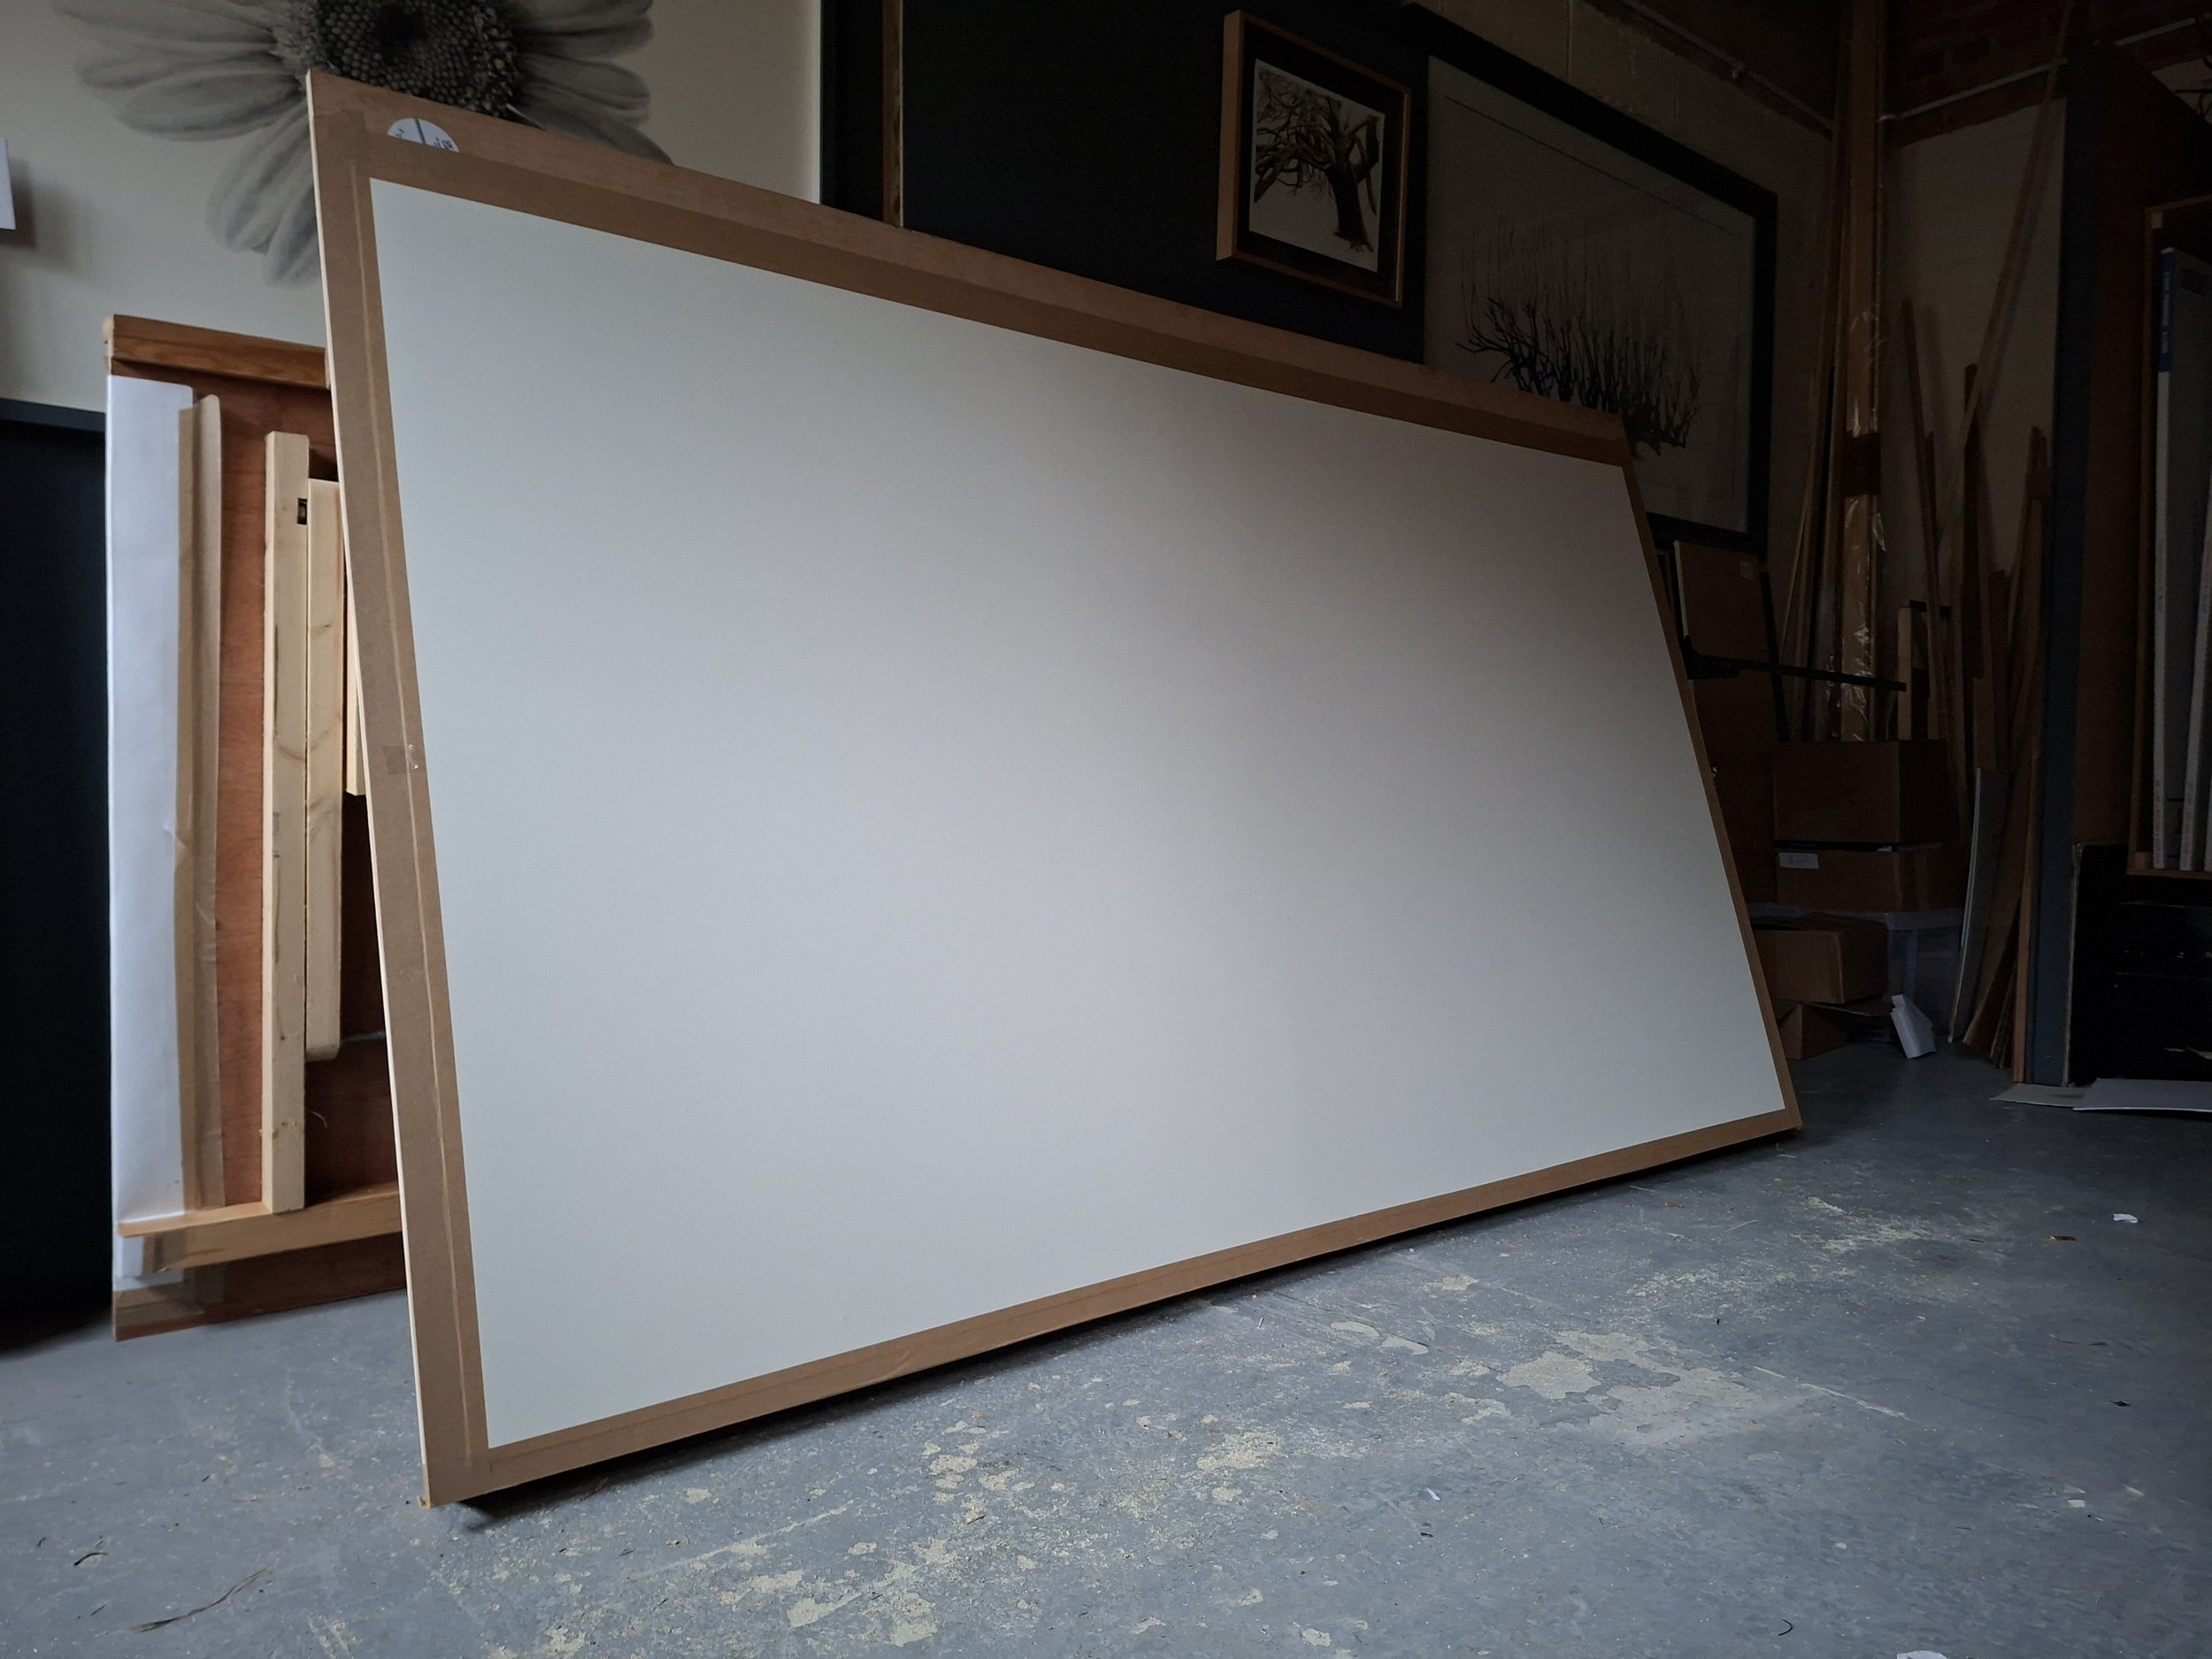

Now that the paper had been stretched, the board was finally ready to be fixed in place on my drawing desk. I'd spent quite a while measuring everything beforehand and had worked out that there would be just enough room for a two-metre drawing in the studio. The board was positioned with a slight lean backwards, making it much more comfortable to work on over the many months ahead, and I climbed behind it to fix a pair of supporting struts.
What I hadn't considered was how I was going to get back out again.
With the struts secured, I discovered that I'd managed to trap myself between the wall and the back of the drawing board. Rather than coming to my rescue, my wife Mollie found the situation considerably funnier than I did and, very helpfully, started filming my increasingly unsuccessful attempts to escape while laughing throughout.
Thankfully, after a certain amount of wriggling and a little damage to my dignity, I eventually managed to free myself. It wasn't quite the dramatic beginning I'd imagined for my biggest drawing to date, but it certainly made for an entertaining start to the project.
Nick trying to escape from behind his drawing board.
Materials
For this drawing I used Conté Pierre Noire HB pencils. Until recently I worked almost exclusively with compressed charcoal pencils, but I found myself increasingly frustrated by broken leads inside the pencil, resulting in unnecessary waste. After experimenting with Conté, I discovered that it behaved in a remarkably similar way while being far more reliable.
I normally work with two pencils at the same time. One is kept to a long, needle-sharp point for the finest detail, while the other is allowed to become much blunter and is used for blocking in large areas of tone. Working this way saves a considerable amount of sharpening and allows me to move quickly between broad tonal work and intricate textures.


Erasers are just as important to my process as the pencils themselves. Rather than simply correcting mistakes, I use them as drawing tools to lift highlights, soften transitions and create subtle textures. I use two propelling erasers—one with a 2 mm round tip and another with a 4 mm flat tip—along with a kneadable putty rubber for larger areas. Finally, before the drawing is framed, I use a traditional Staedtler white eraser to give the paper a final clean.
The paper itself plays an equally important role. Fabriano Artistico 300 gsm Hot Press has been my paper of choice for many years. Its smooth surface allows me to capture the extremely fine detail found within bark, lichens and mosses, while its weight is robust enough to withstand countless hours of drawing, blending and erasing without showing signs of wear.
The Drawing Process
With everything prepared and in place, it was finally time to sketch in the outline of the tree.
To scale the image up from my reference photographs I used a simple grid, sketching over it to establish the main structure. At this stage I don't get too bogged down in the finer details. Instead, I concentrate on the major forms and the darker areas, giving myself enough reference points for the later stages of the drawing.

Sketching in the outline of the drawing
From the outset I knew I wasn't going to draw every single twig. The outline was simply there to establish the trunk and the main structure of the canopy. Even so, this initial stage took around three days. It's a slow process, but it's also a good opportunity to settle into the rhythm of the drawing before the real work begins.
With the outline complete, it was finally time to make the first proper marks. This is always a significant moment. Up until then, everything can still be altered, but once the drawing starts there is a commitment to seeing the project through. It's the deep breath before the plunge-there's no turning back.

The completed outline after three days work
I usually begin with an area that feels relatively straightforward, just to get into the flow. For the Queen Elizabeth Oak I chose the large branch union at the top left of the trunk. There were two reasons for this. Firstly, I wanted to establish the left-hand side of the trunk so the branches could naturally grow out from it. Secondly, I knew the trunk was going to be my favourite part of the drawing. The deeply fissured bark, the subtle changes in texture and those wonderful early morning shadows moving across its surface were calling to me.
Over the next week or so the left-hand side of the trunk gradually developed as I found my stride. A week may sound like a long time to spend on one section, but drawing is an incredibly slow process. Much of my time isn't spent making marks at all—it's spent looking.


I regularly step back from the drawing and view it from different positions around the studio. It gives my eyes a chance to refocus and allows me to see the drawing from different angles. If you stare at one area for too long you can develop what I think of as "snow blindness". Eventually everything begins to look right simply because you've been looking at it for hours. Walking away, even for a few minutes, often reveals things I'd completely missed.
The photographs below show how I gradually build an area, developing the tone, depth and detail before moving on. I prefer to work on relatively small sections, taking each one almost to completion before beginning the next. Once the surrounding areas are finished, I usually return to each section again to make subtle adjustments and knit the whole drawing together.
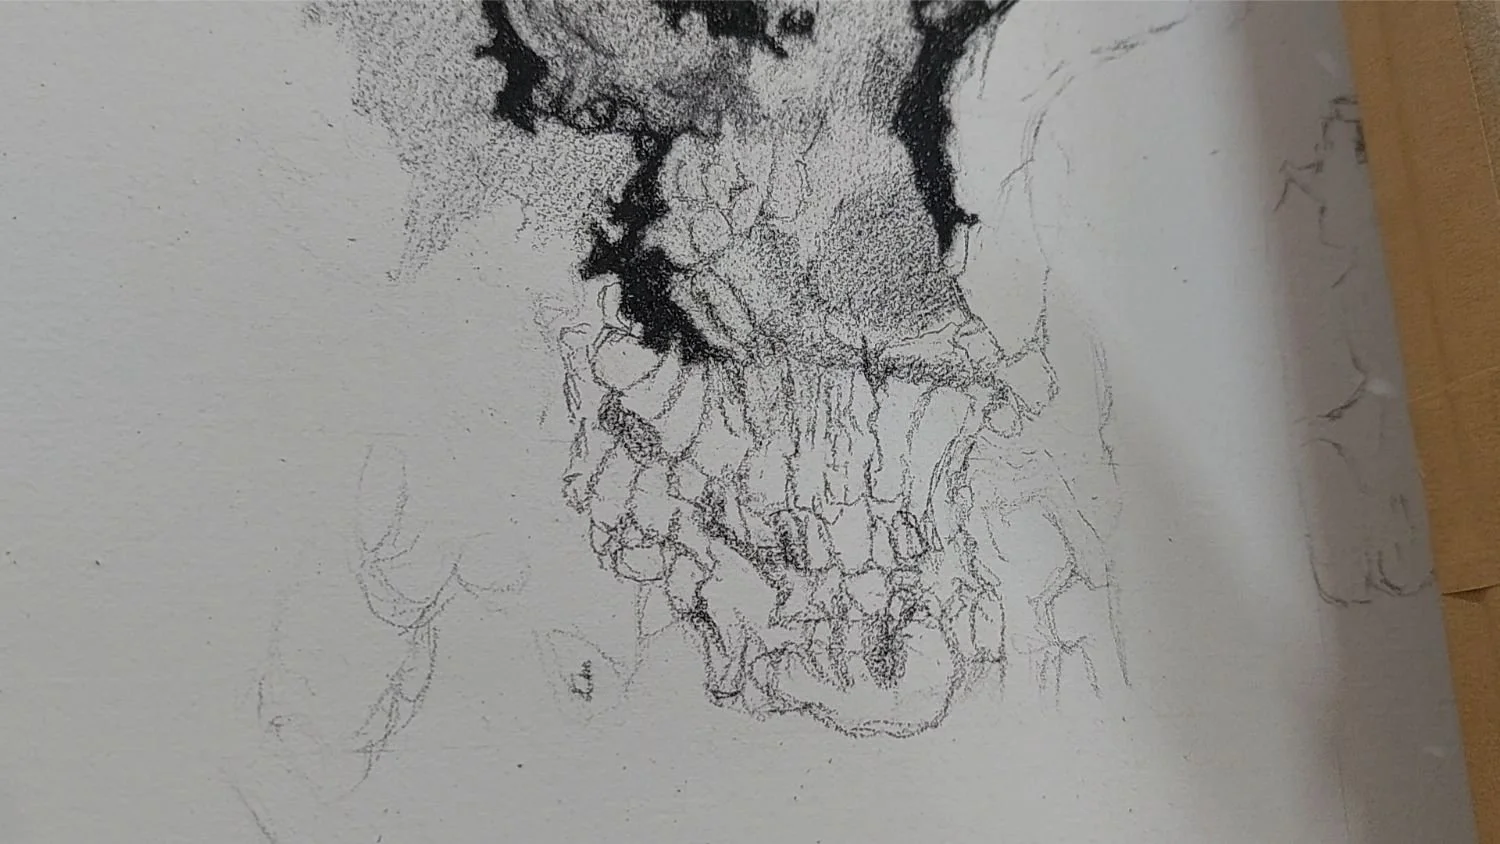
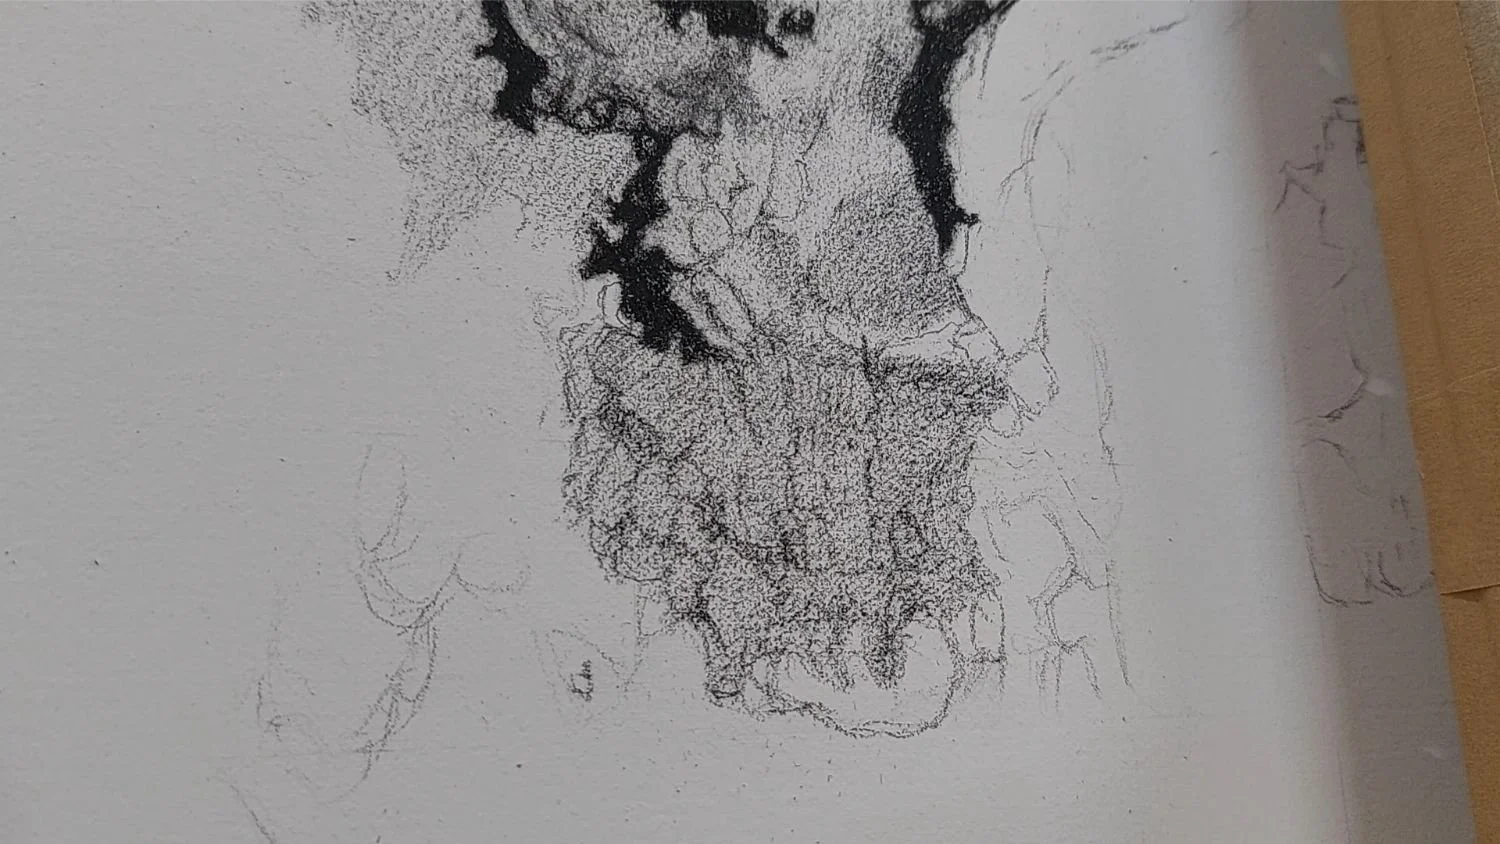

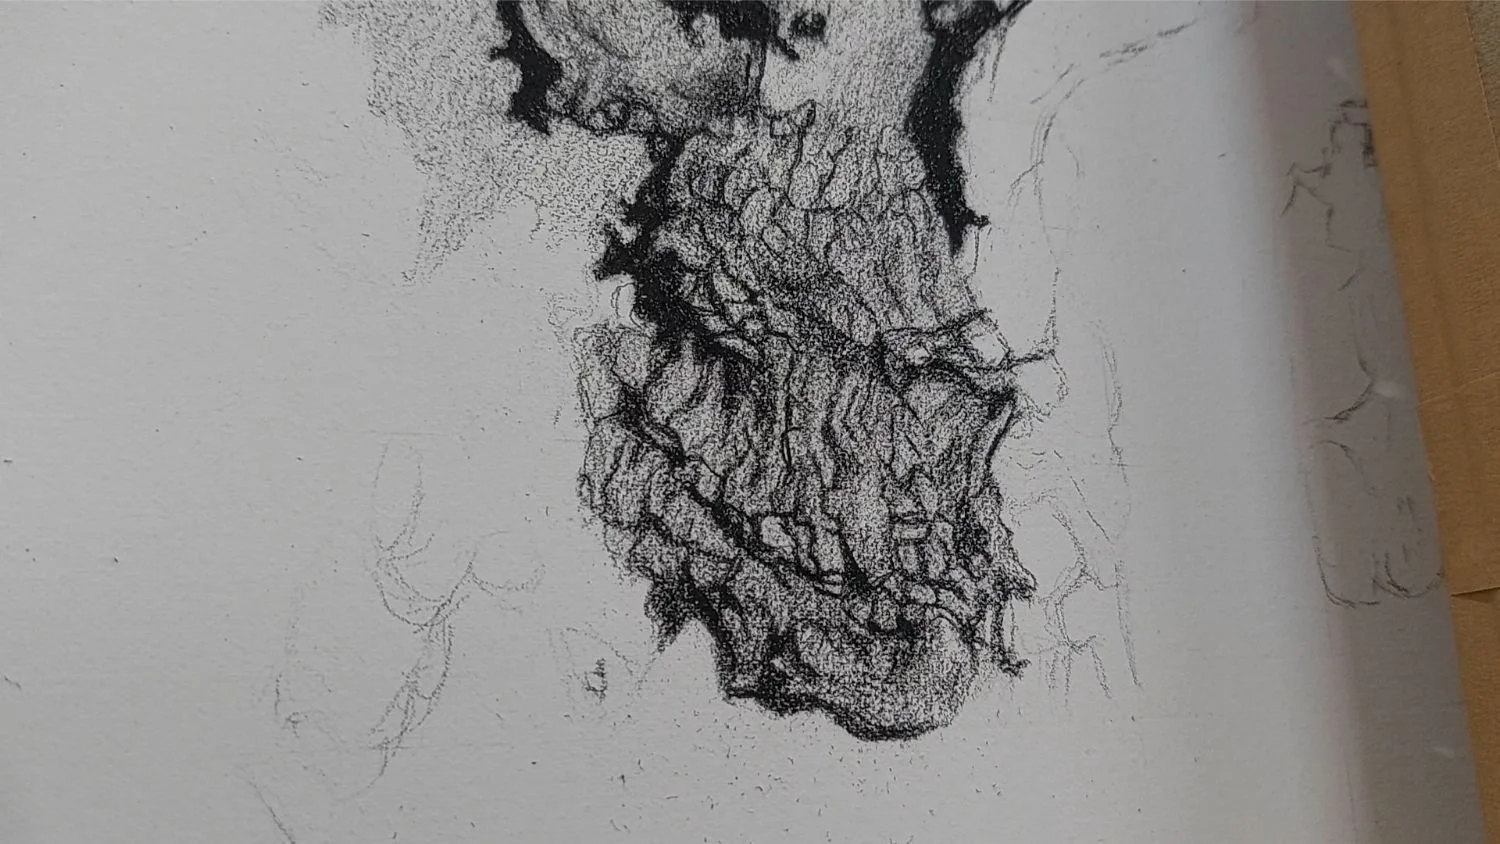

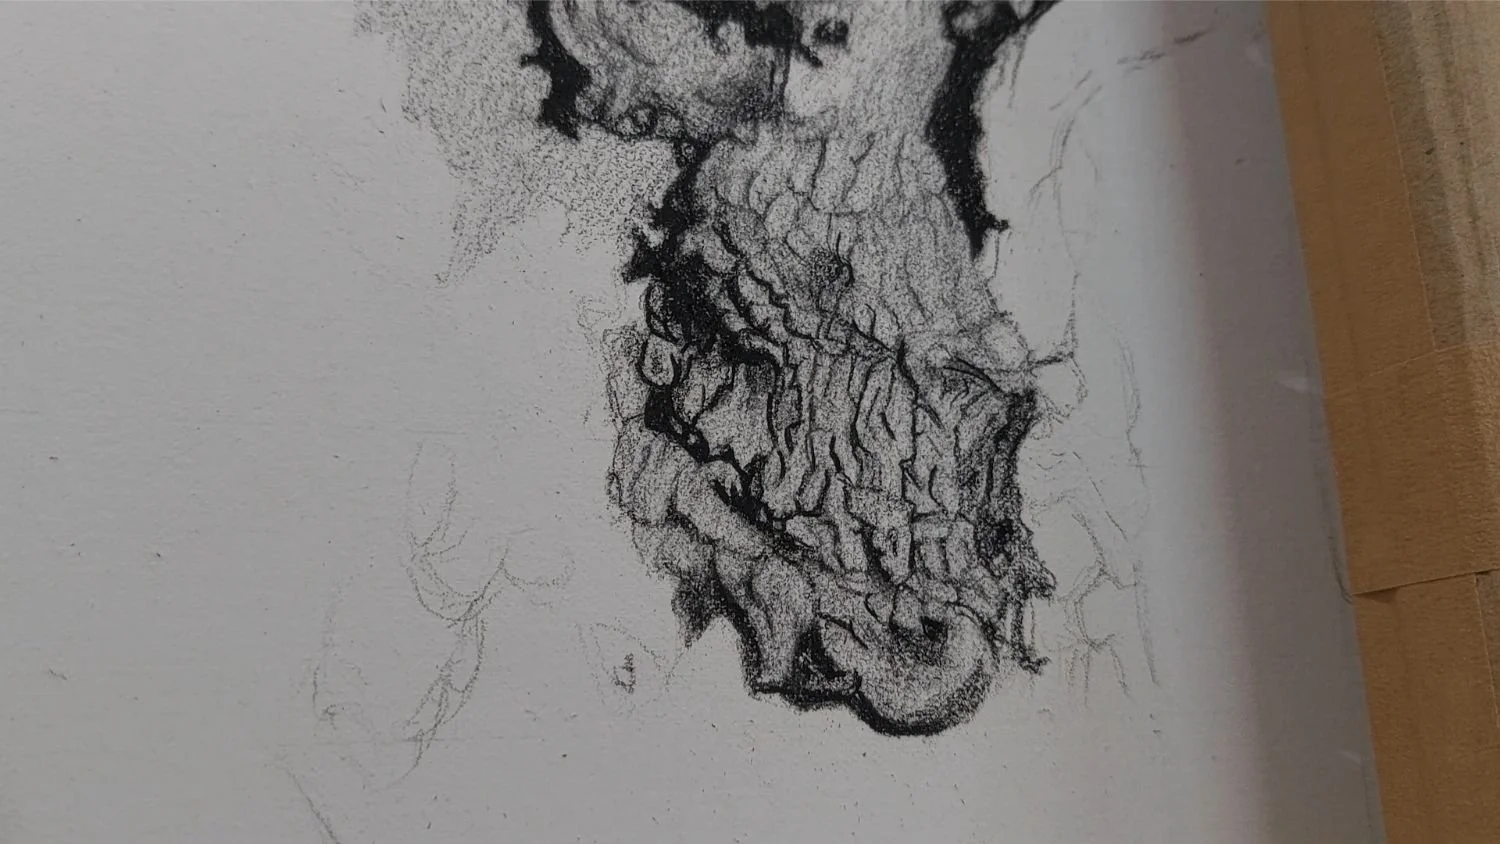
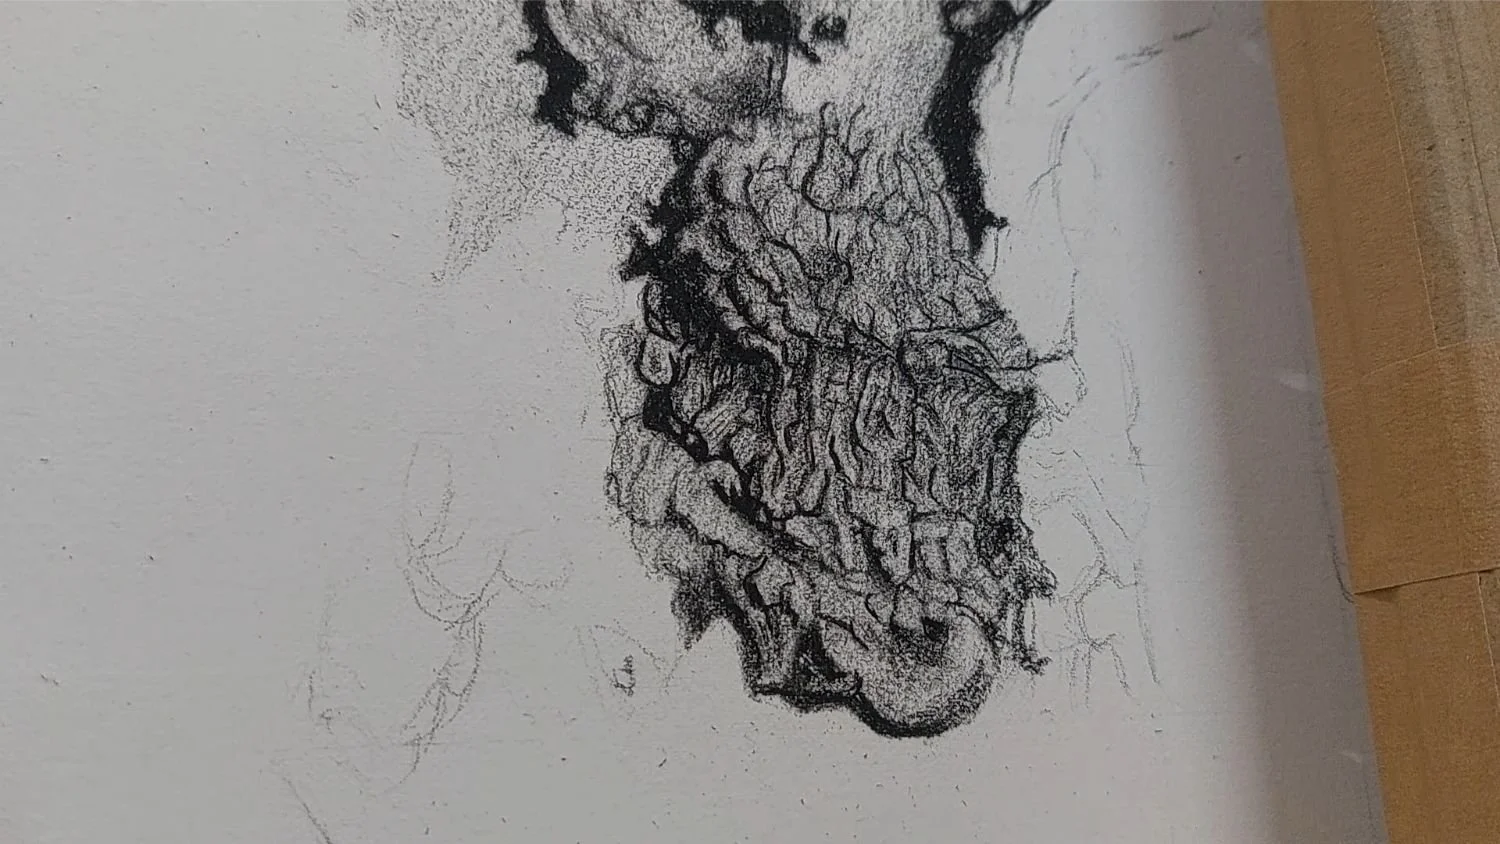
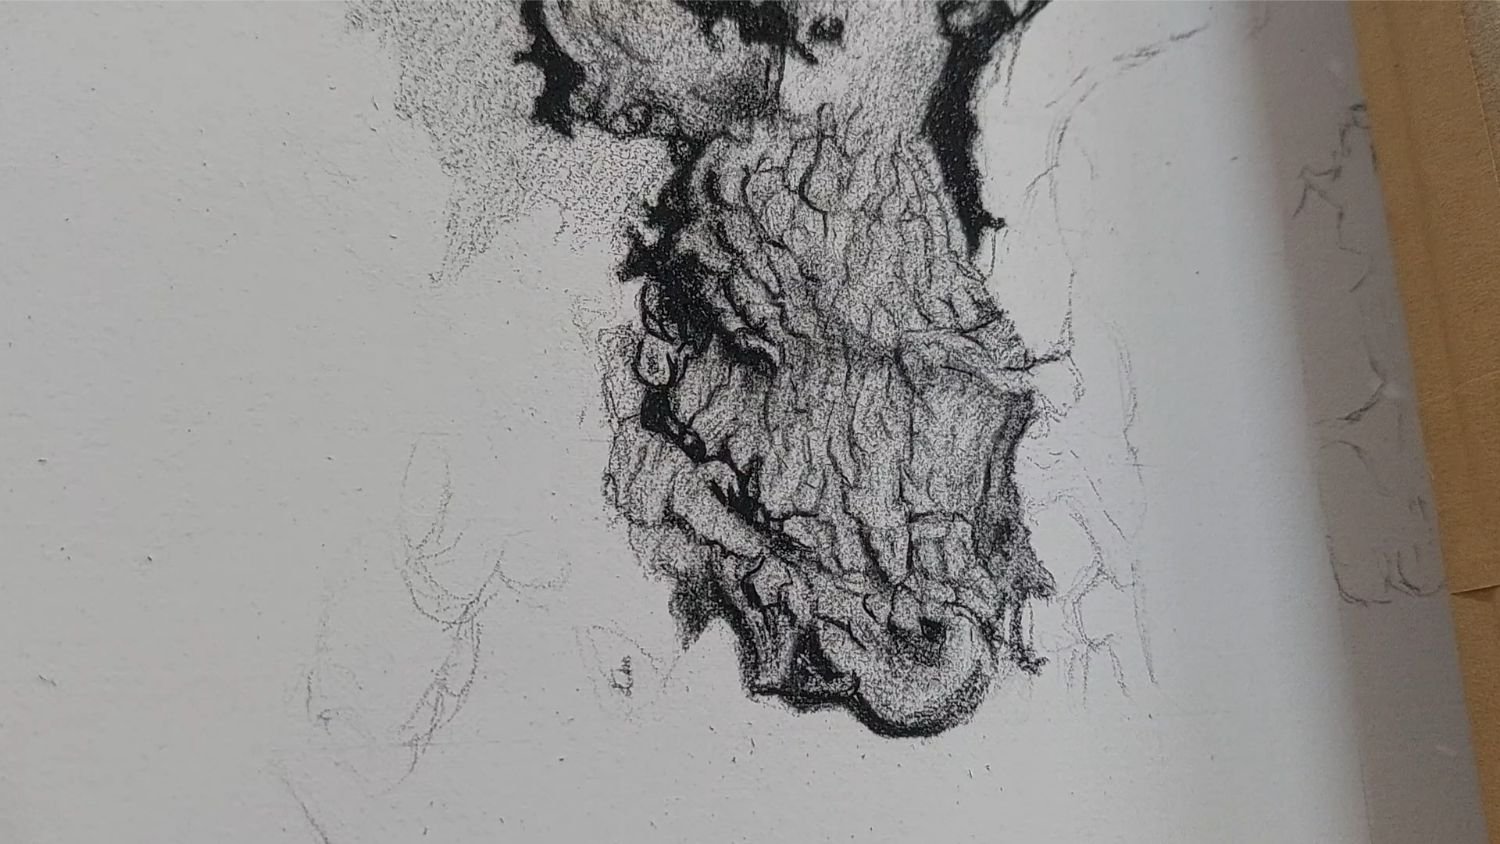


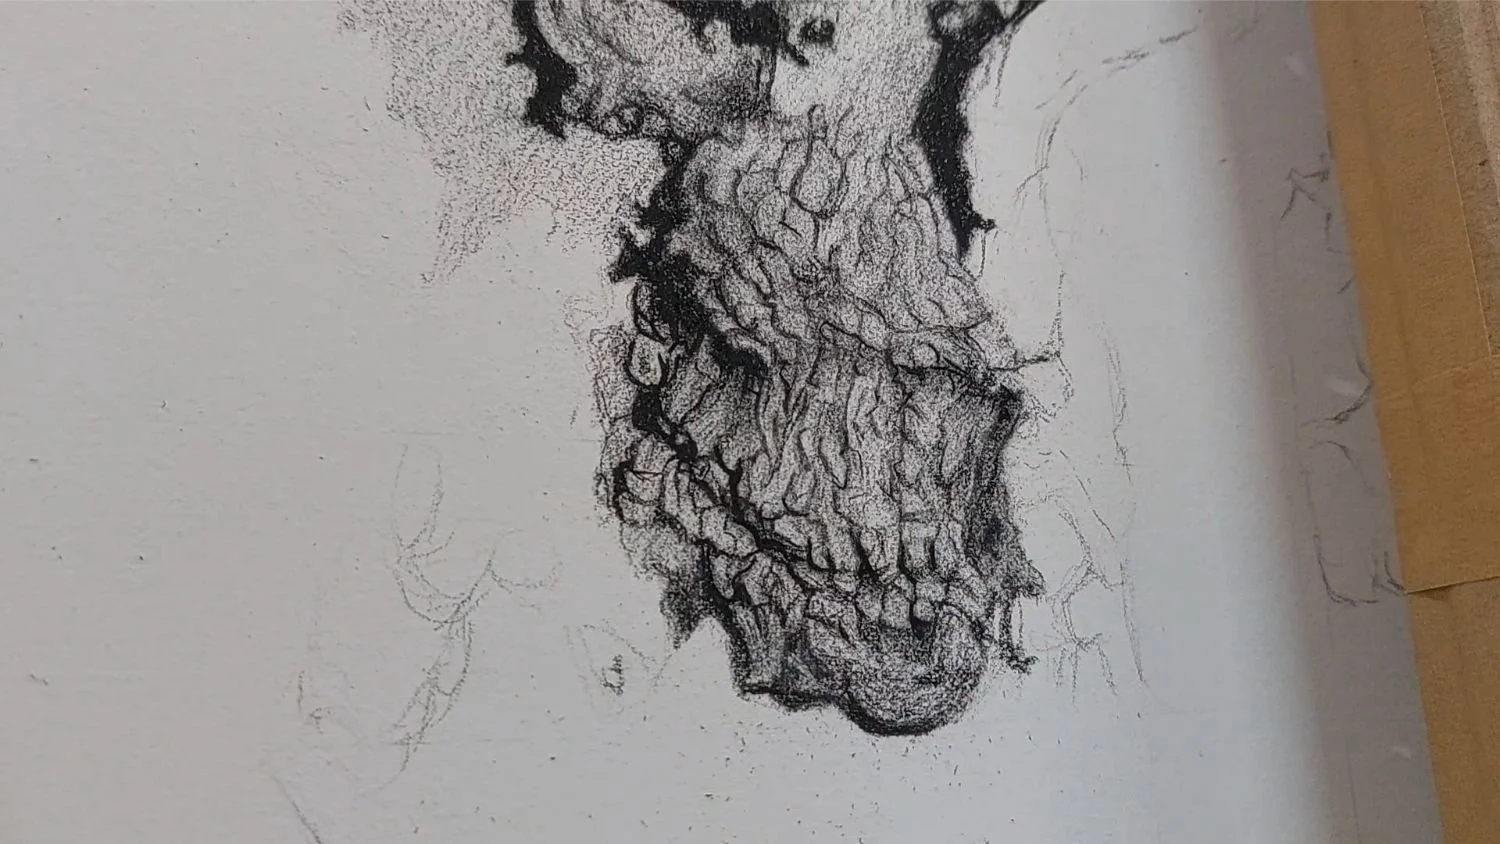
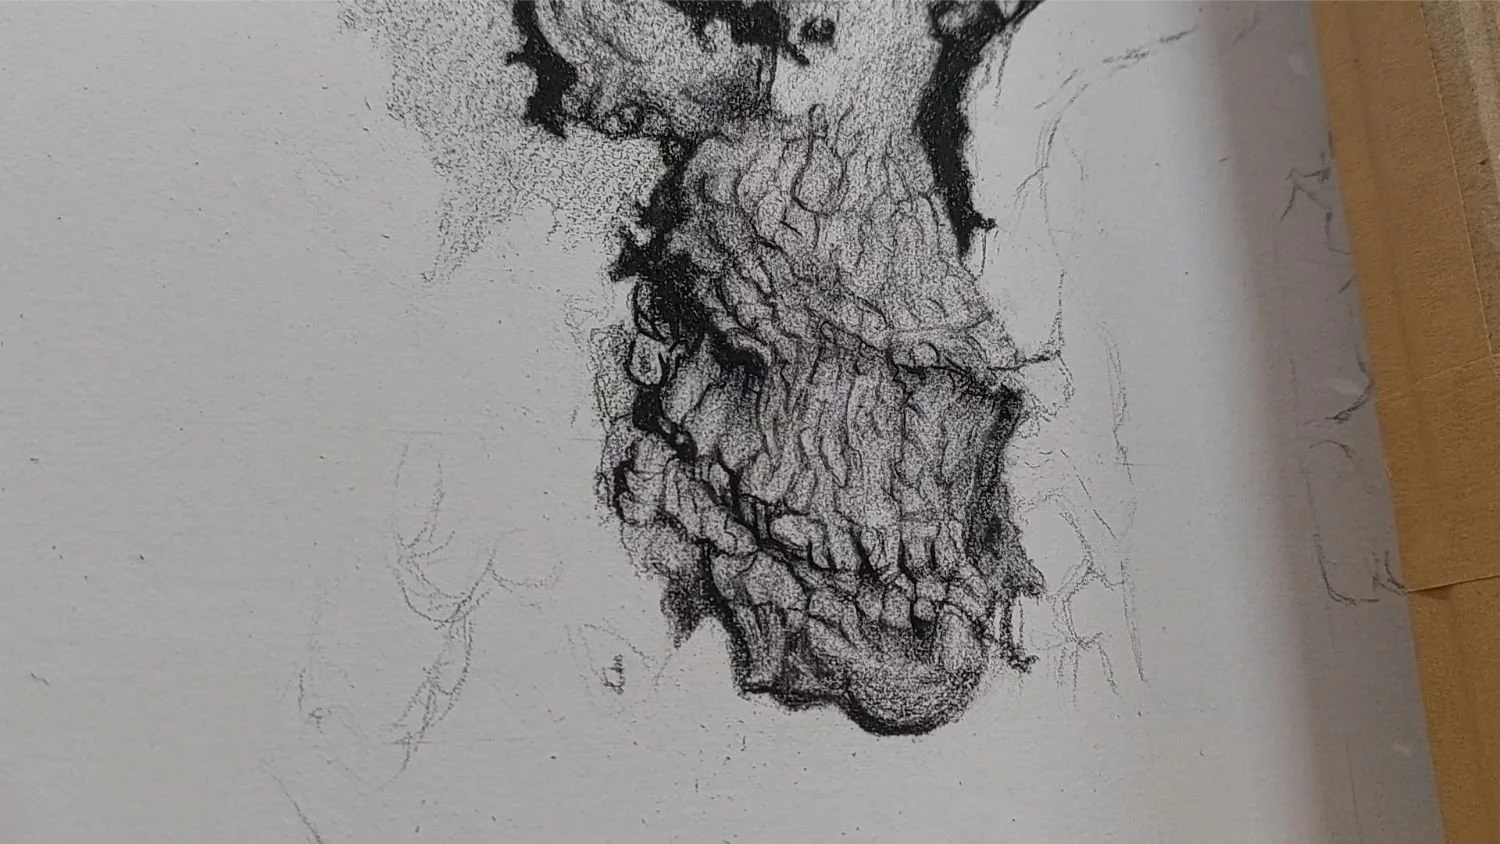
A short video in real time showing how slow the drawing process is.
Four hours of drawing condensed into a 50 second clip
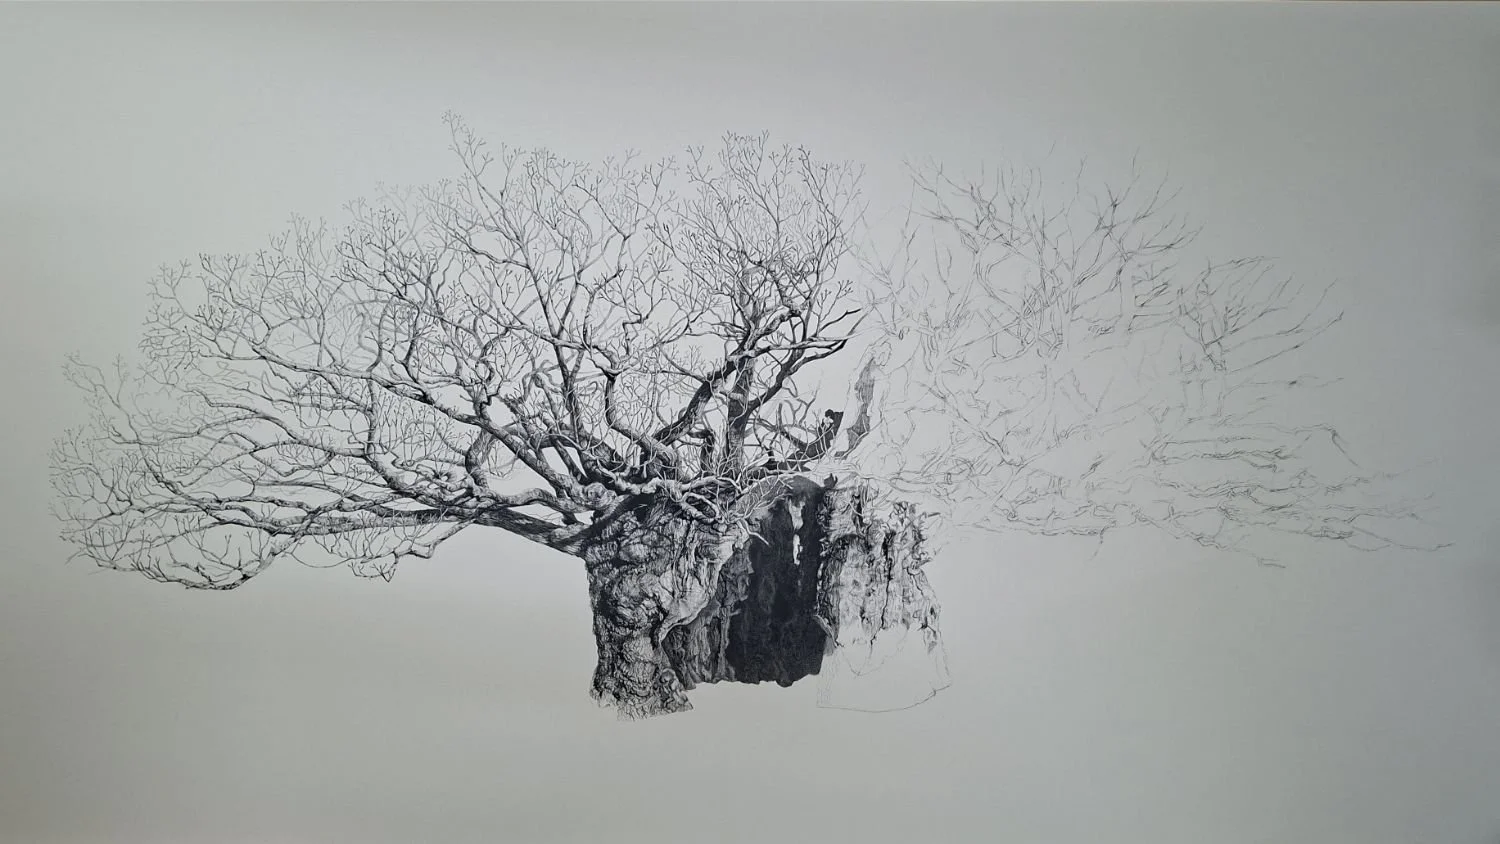
With the trunk established, I moved into the branches on the left-hand side of the tree, gradually working clockwise through the canopy. The branches demanded an immense amount of concentration as I tried to untangle them and make sense of the reference photographs. This was exactly the point where my original plan of making detailed sketches on site would have been invaluable.
Bullocks.


My approach was to work on the foremost branches first before gradually moving back into the canopy. As I'd already decided not to reproduce every twig exactly as it appeared in the photographs, I spent time studying the natural growth habit of oak branches. Using that understanding, I was able to invent many of the smaller twigs while still keeping the overall character of the canopy true to the original tree. Where the photographs showed dense clusters of growth, I made sure those areas retained the same visual weight in the finished drawing.
The lighting presented another enjoyable challenge. The early morning sun travelled across the tree from right to left, leaving the branches on the left side brightly illuminated. They were light in tone, but never white, and finding those subtle values was surprisingly satisfying.
Drawing the twigs and branches
As I worked my way around the canopy towards the twelve o'clock position, it became necessary to return to the trunk and complete the remaining right-hand side before continuing into the rest of the branches.
The hollow centre of the tree presented one of the biggest technical challenges of the entire drawing. I didn't want it to become nothing more than a large dark shape. It needed the same richness of texture as every other part of the tree. I therefore spent a considerable amount of time drawing details that I knew would eventually disappear beneath layers of darker tone. Although much of that work can barely be seen in the finished drawing, it gives the hollow a subtle depth and complexity that would otherwise have been missing.


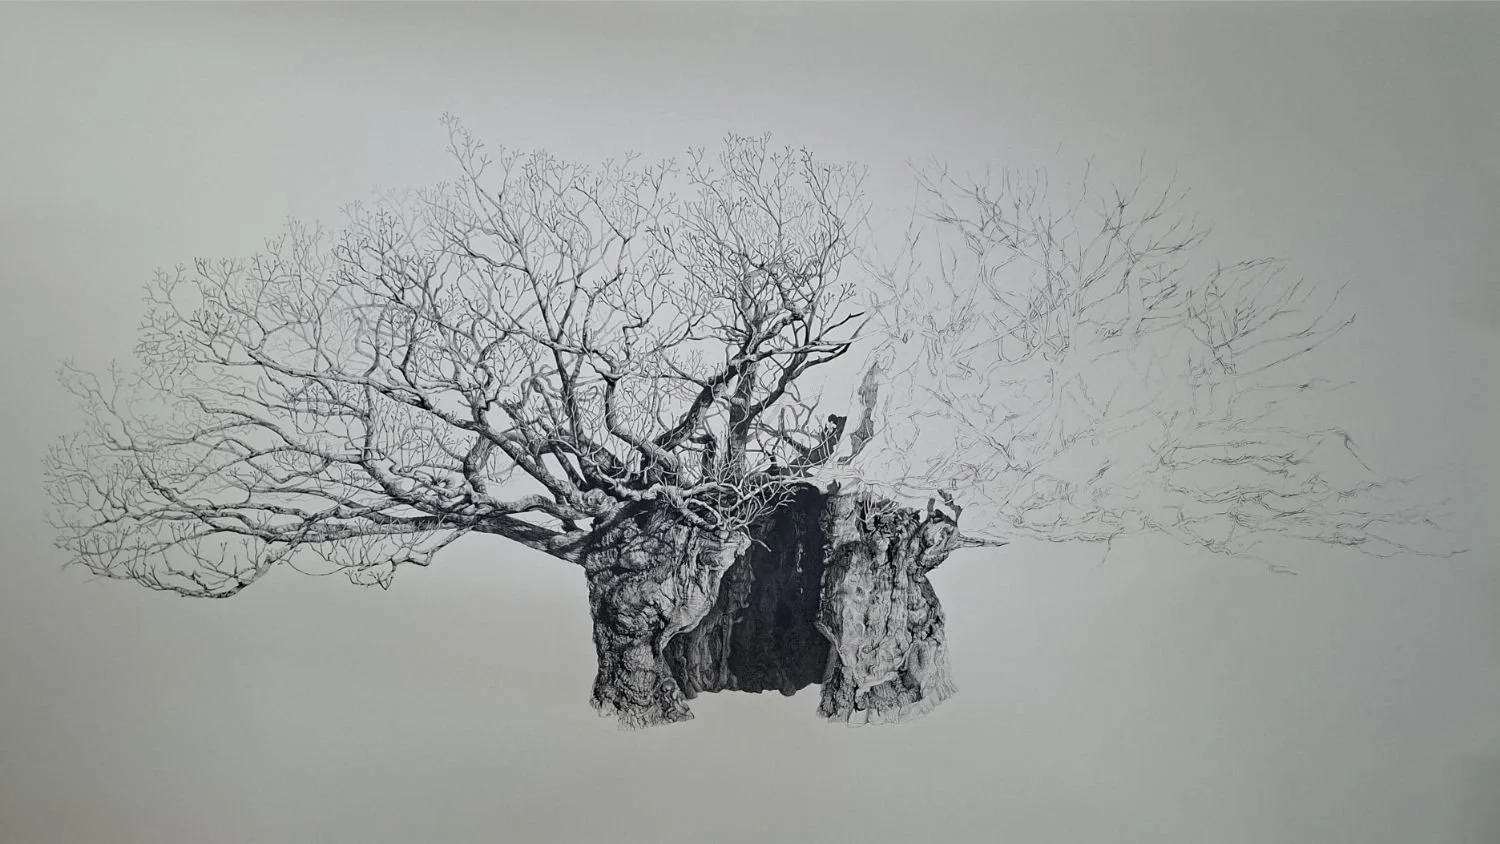
Once the trunk was complete, I began work on the right-hand side of the canopy. By this stage I was around three months into the project.
That was quite a mental hurdle.
My previous "large" drawings had usually taken between four and six weeks, so to be only just over halfway through after three months required a change of mindset. Long projects have a habit of making you question yourself. You begin to wonder whether the drawing is working, whether the effort is worthwhile and whether you'll ever actually finish it.
The only solution is to keep going.
Eventually the end begins to creep into view and those doubts quietly disappear.
The branches on the right were approached in much the same way as those on the left, working from the nearest branches back into the canopy. The difference was that these branches were largely in shadow, with the sunlight falling on the far side of them. This meant I had to be especially careful with the tonal values, constantly comparing them with work I'd completed nearly three months earlier to ensure both sides of the tree felt completely consistent.


As I approached the end of the drawing, progress seemed to slow even further. The temptation at that stage is to rush for the finish line, but I had to resist that urge and remind myself to give the final areas exactly the same care and attention as the very first marks.
After just over five months of work, the drawing was finally complete.
Spending so long on a single piece was a completely new experience for me. I'm used to walking into the studio, sitting down and beginning a new drawing, but repeating that same process for more than twenty weeks demanded a level of discipline I hadn't experienced before.
Some days were far more productive than others. I can always tell when I'm "in the flow" and, when that happens, I simply want to keep drawing. Stop-starting is much harder because it always takes time to find that rhythm again. Of course, life has a habit of getting in the way.
My wife often says I develop what she calls my "thousand-yard stare" when I'm deep into a drawing. Apparently it's almost impossible to have a conversation with me. I tend to become completely absorbed in the work, so over the months I learnt not to fight against that. I simply accepted the time I had available each day and tried not to put unnecessary pressure on myself.

With the drawing completed it is time to clean the paper.
This drawing became a series of small victories.
Rather than constantly thinking about the finish line, I learnt to enjoy completing one branch, one section of bark or one area of canopy before moving on to the next. I love watching a drawing slowly spread across the paper, and although this one sometimes seemed almost glacial in its progress, persistence, discipline and a healthy dose of bloody-mindedness eventually carried it over the finish line.
When I finish a drawing I always leave it alone for at least a few days. Creating a little distance allows me to return with much fresher eyes. It's surprising how often small problems become obvious after a short break. I spent another couple of days making subtle adjustments, lifting highlights, deepening shadows and bringing the whole drawing together before I finally took the board down.
The final task was cleaning the paper. Throughout the drawing process the sheet remained taped securely to the board while I carefully worked across every inch with a Staedtler eraser, removing construction lines and any remaining marks from the margins. It took a couple of hours—and a couple of erasers—but after five months of work it seemed a fitting way to bring the project to a close.
Reproduction
With the drawing finally complete, it was ready to be photographed for reproduction.
All of my artwork is photographed by Image Centre, near Bath. The owner, Zed, is an absolute pleasure to work with and has an incredible understanding of how to reproduce original artwork faithfully.
Rather than scanning the drawings, he photographs them. For larger works such as the Queen Elizabeth Oak, this involves taking many high-resolution photographs of small sections of the drawing, which are then meticulously stitched together in Photoshop to create one enormous digital file suitable for producing exhibition-quality prints.

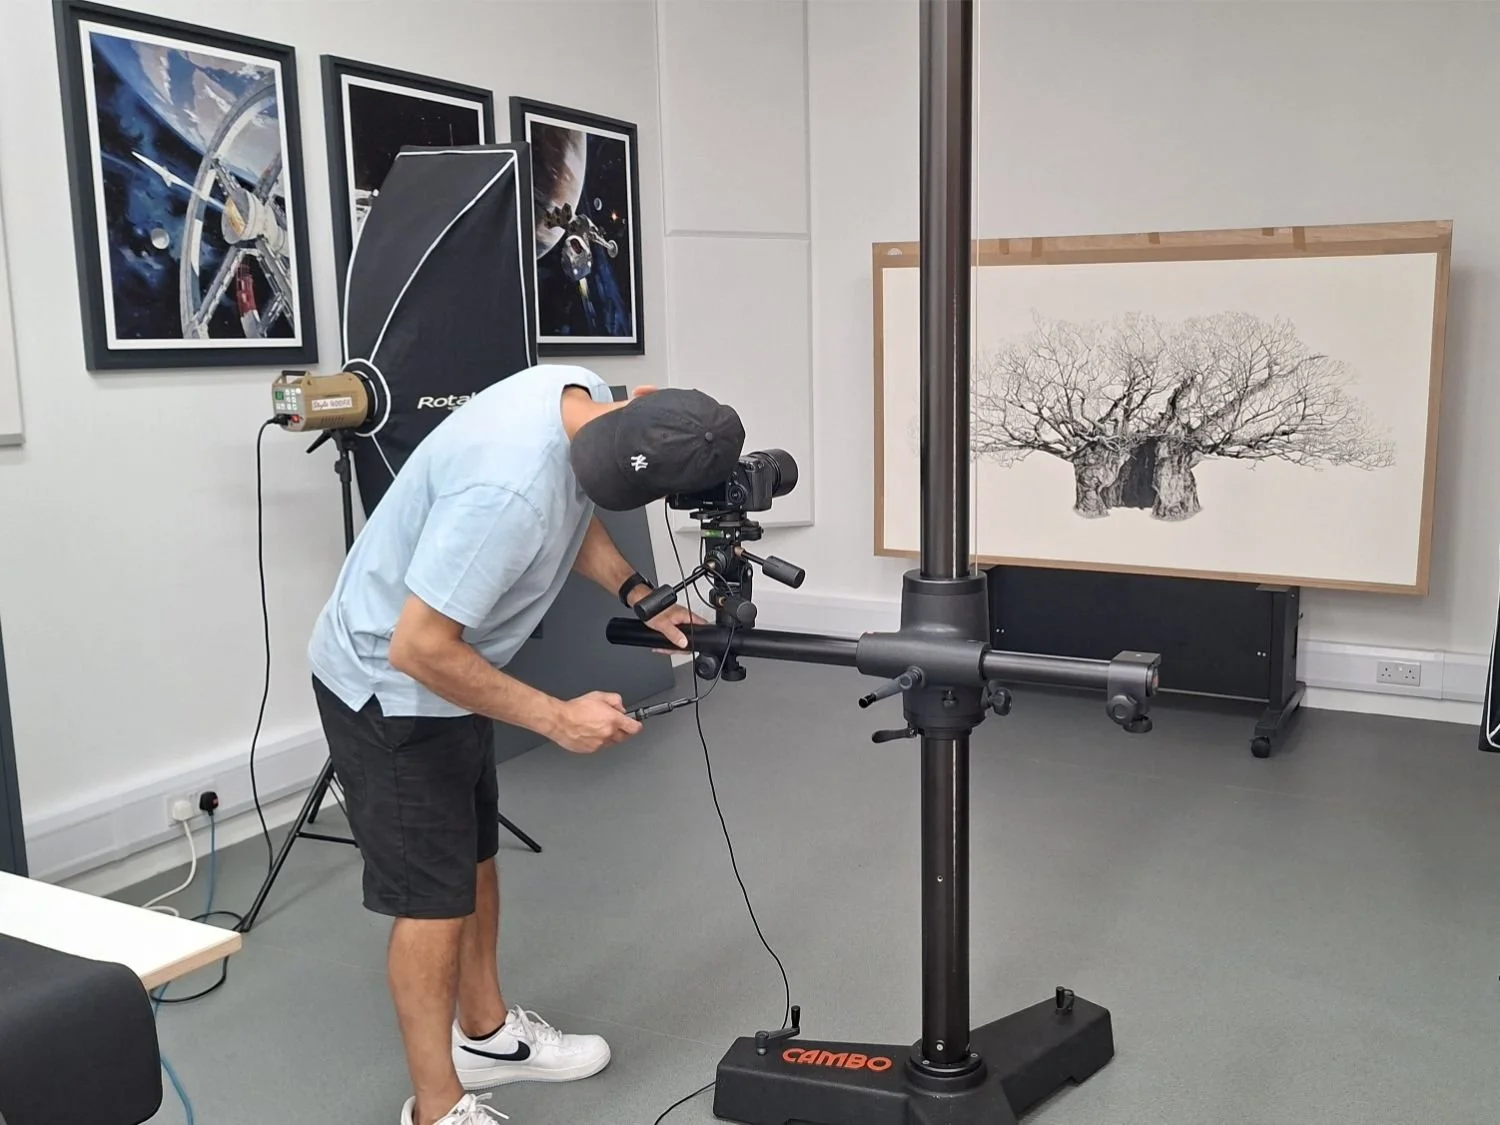
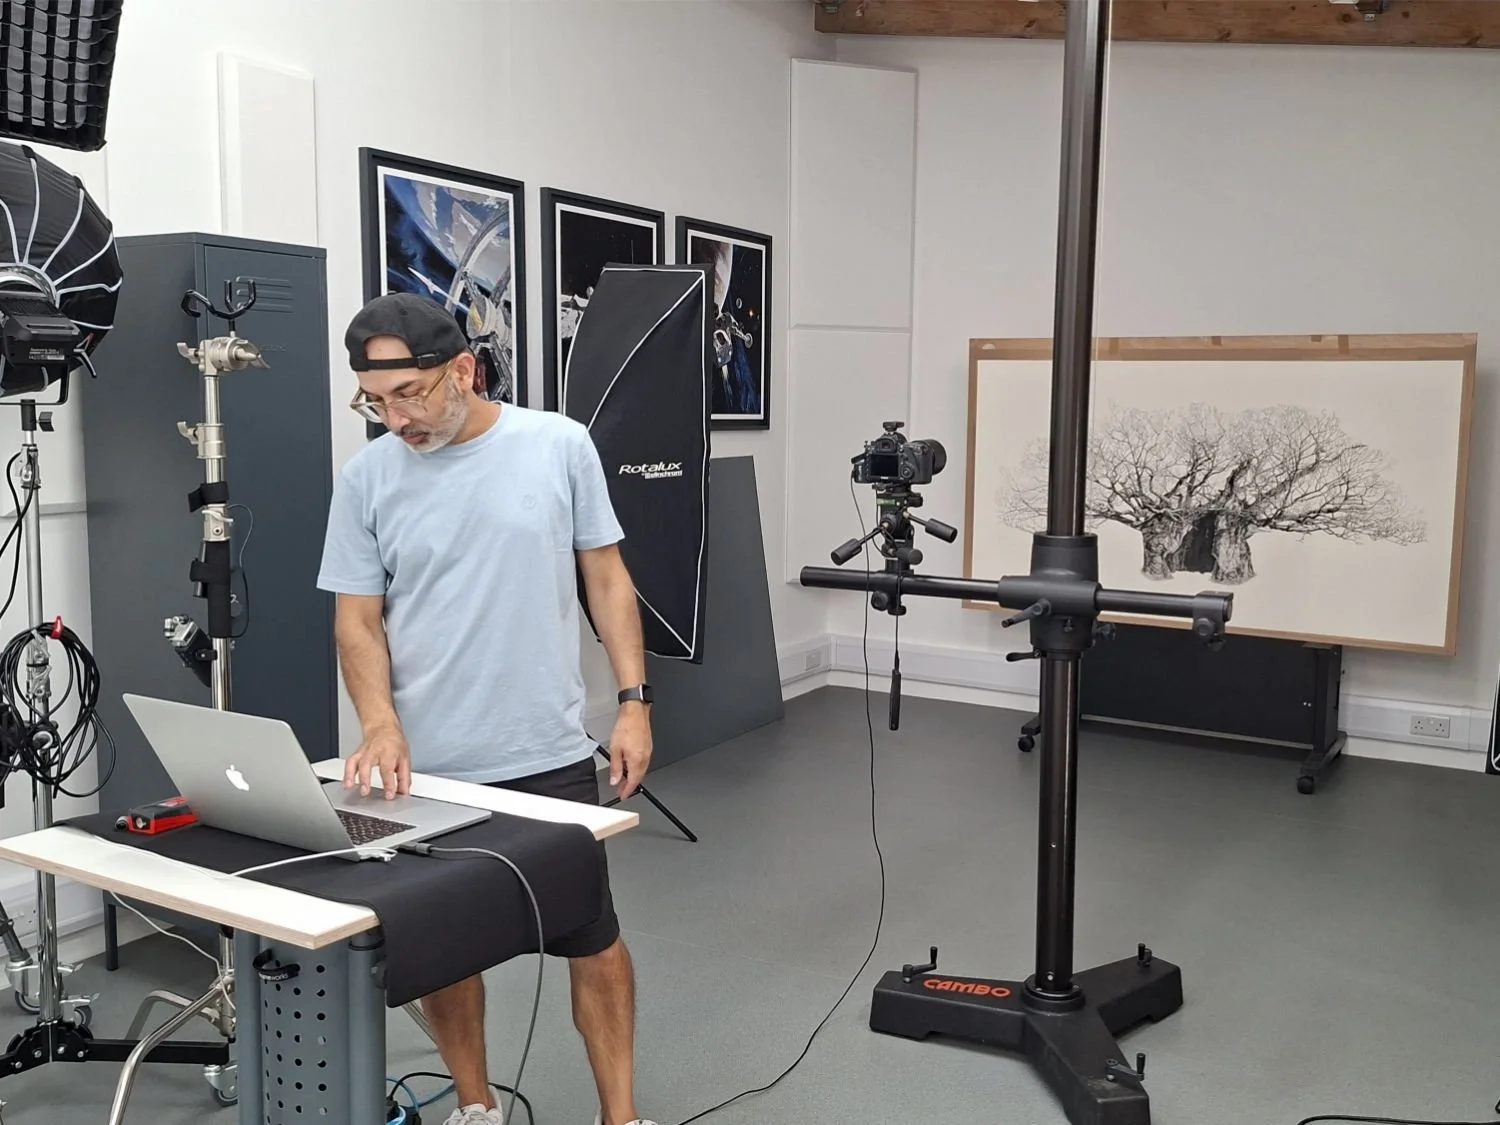
The biggest challenge with this drawing was achieving perfectly even lighting across a two-metre surface. Zed's solution was wonderfully ingenious. Instead of moving the lights around the artwork, he fixed both the lighting and the camera in place, moving the camera only vertically while the drawing itself was carefully slid left and right on a trolley beneath it. The result was an exceptionally accurate digital reproduction that captured every subtle texture and tonal variation of the original.
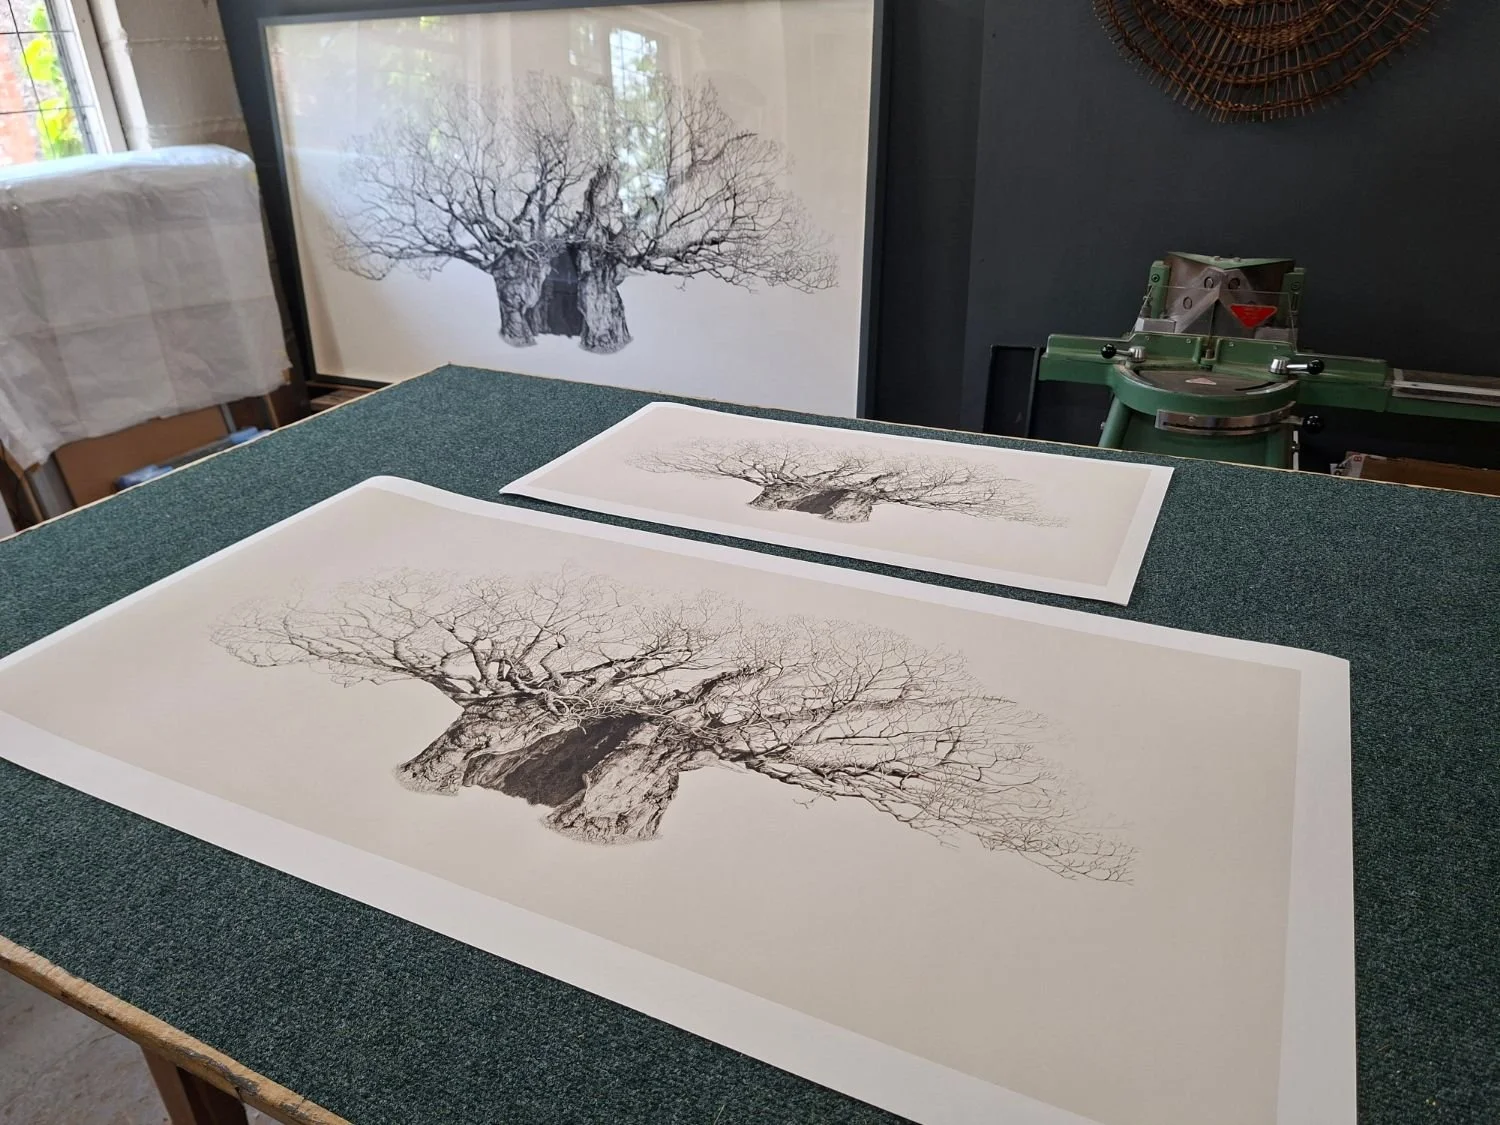
I'm delighted with the finished prints, which reproduce the character of the original drawing remarkably well.
(Prints of the Queen Elizabeth Oak are available through my website.)

‘The Queen Elizabeth Oak’ - limited edition fine art print

Framing the Original
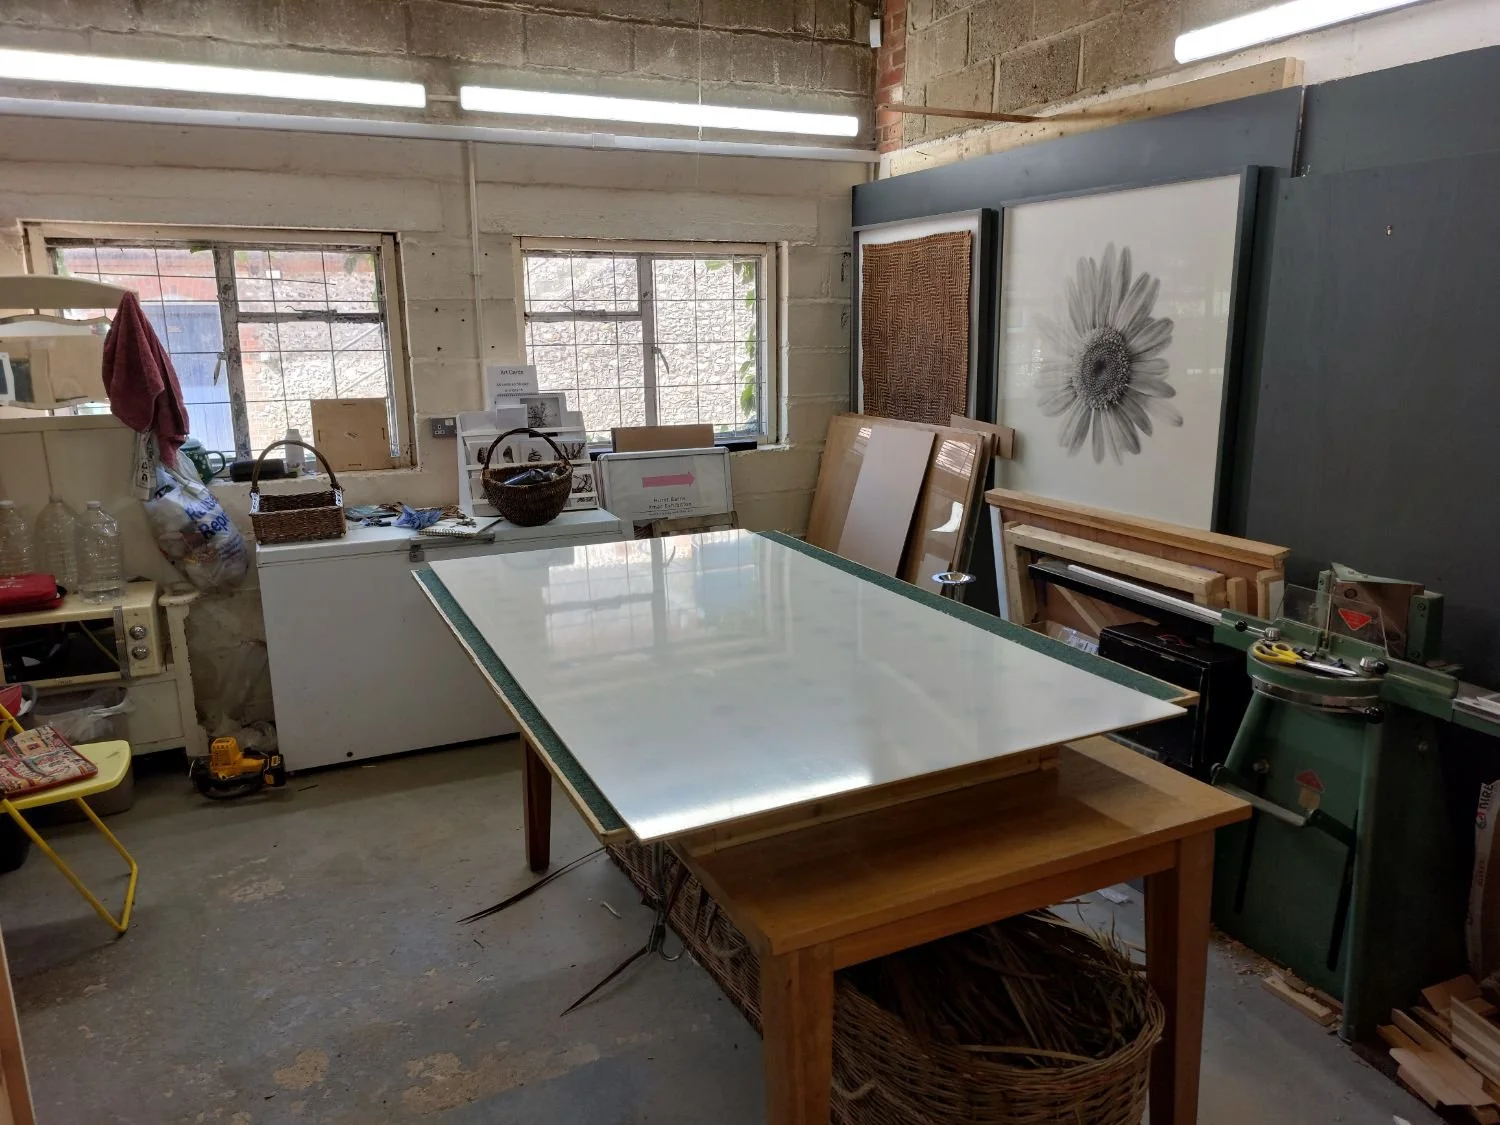
The final stage of the project was framing the original drawing.
Having worked as a picture framer for many years, I have developed a framing style that I now use for all of my botanical drawings. The artwork is mounted within a box frame and spaced approximately 20 mm away from the glazing. This creates subtle shadows around the artwork and gives the finished piece a greater sense of depth.
Large drawings present their own challenges. Although the paper appears to float within the frame, it is actually supported only by narrow 6 mm spacers around the edge. Over time, gravity naturally wants to pull the paper forwards, so developing a mounting system that keeps the artwork perfectly flat while remaining fully conservation standard has become an important part of my framing process.
Every frame begins with the glazing, as its size ultimately determines every other dimension of the frame. For this piece I had a choice between 3 mm Tru Vue UltraVue UV glass or 3 mm UV-protective acrylic. Although the glass offered excellent optical clarity and UV protection, a sheet this size would have weighed around 15 kilograms. After careful consideration I chose the acrylic, which provides the same level of protection while weighing around a third as much, making the finished artwork far safer and easier to handle.
The drawing itself is first mounted onto RagMat acid-free barrier board using archival, water-activated gummed paper tape. This method provides a secure attachment while remaining completely reversible should the drawing ever need to be removed in the future.


The barrier board is then fixed to a rigid backing board, which is itself attached to a hidden sub-frame. This construction creates a remarkably strong support that prevents movement while ensuring the drawing remains perfectly flat within the frame. Although the overall structure is extremely robust, the artwork itself can still be removed without damage if required.
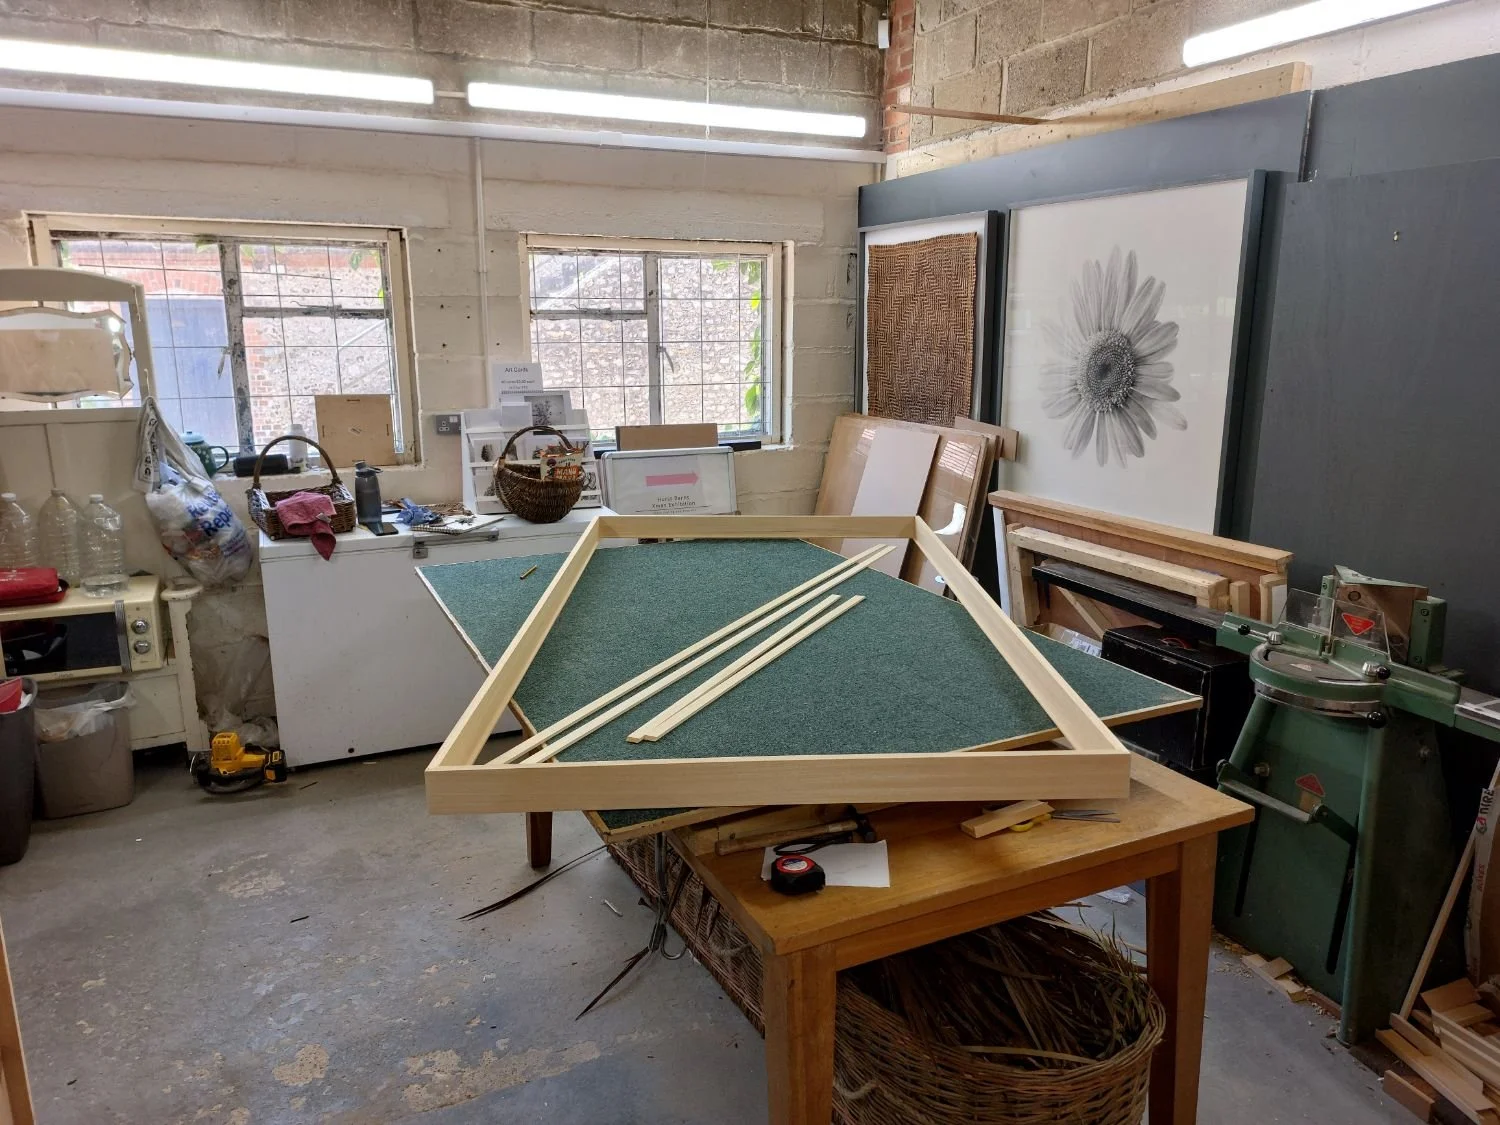
With the glazing, spacers, artwork and backing assembled, everything is fitted into the painted and waxed frame before being secured and sealed. Finally, heavy-duty strap hangers are fitted to the back of the frame, providing a secure fixing for such a substantial piece.


The framing is finished
Looking Back
With the drawing framed, the project was finally complete.
After more than five months of work, it was a strange feeling to simply sit in the studio and spend time looking at it. There were no more decisions to make, no branches left to draw and no shadows left to adjust.
I found myself remembering different parts of the process—the sections that had been particularly enjoyable, the areas that had tested my patience and the moments when I wasn't entirely sure I would ever reach the end.
Like every drawing I've ever completed, there are parts that I'm especially pleased with and others that, if I'm honest, I wish I'd handled slightly differently. I suspect that's something every artist experiences. Those little imperfections are part of the journey, and perhaps it's best that only I know where they are.
Standing beside the finished drawing for the first time, I was reminded just how much of my life had been invested in it. Hundreds of hours of quiet work had been distilled into a single piece of paper. What had begun as an idea while standing beneath an extraordinary tree on the Cowdray Estate had become the largest and most ambitious drawing I've ever completed.
Now it was time to begin thinking about the next drawing.
I hope you've enjoyed this detailed look behind the scenes of creating the Queen Elizabeth Oak. It has been a rewarding project from beginning to end, and I hope this article has given you an insight into the planning, patience and craftsmanship involved in producing a drawing on this scale.
If you would like to own a limited edition print of the Queen Elizabeth Oak, you can explore the collection through my website.
If you're interested in purchasing one of my original artworks, discussing a commission, or simply getting in touch, I'd be delighted to hear from you.
Thank you for following the journey.
My very best wishes,
Nick McMillen
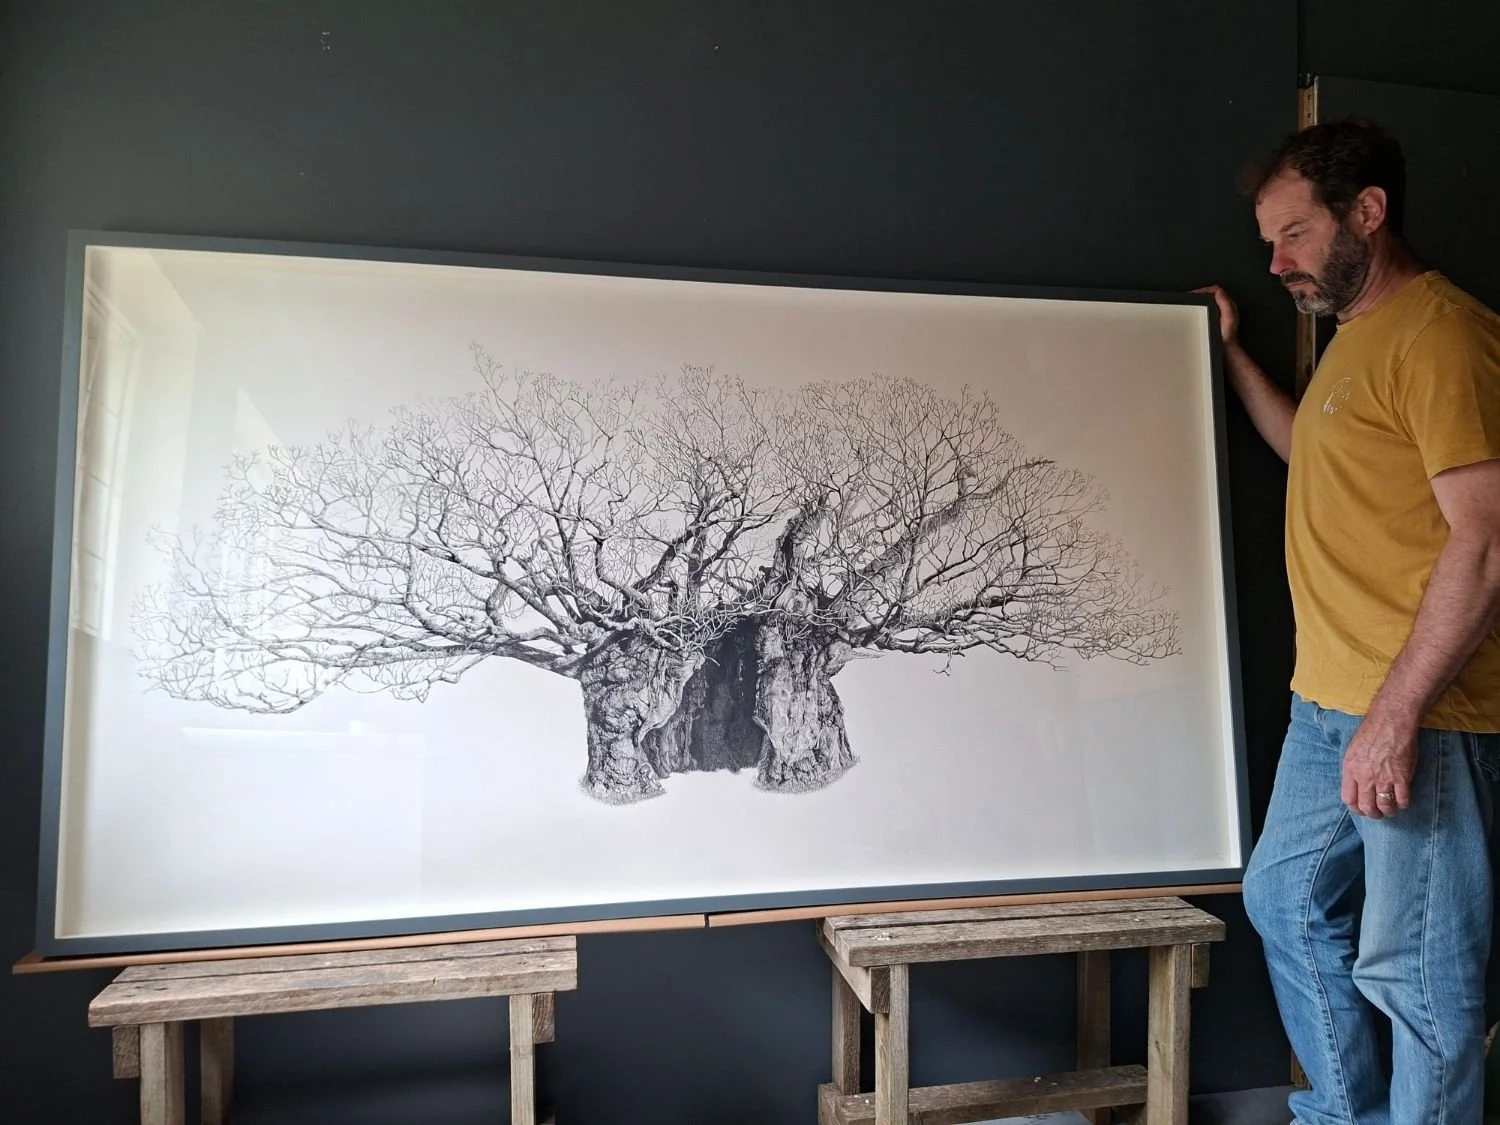
‘The Queen Elizabeth Oak’
Conte Pierre Noire on Fabriano Artistico hot press paper
1945mm x 1055mm
2026